 [Login],New User?
 [Join Free]
 [Login],New User?
 [Join Free]

 |  |  |  |
> Auto Scanner Tools > Programmer and Chips > KTAG KESS KTM fgtech Dimsport LED BDM Frame 22 sets ECU chip tuning tool(Denso, Marelli, Bosch, Siemens) 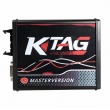
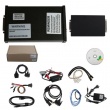
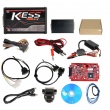
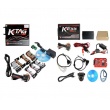
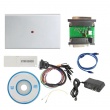
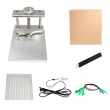
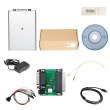
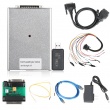
KTAG KESS KTM fgtech Dimsport LED BDM Frame 22 sets ECU chip tuning tool(Denso, Marelli, Bosch, Siemens)
Features:
Adapter width: ~60mm width for original BDM Probe, not for low quality plastic with 40mm width.
Adapter thickness: 2mm
Adapter colour: Green
A full set comes with 22 BDM adapters.
How to use BDM probe adapter with KTAG/KESS/KTM100/Dimsport?
1.Open the ECU
1.1 at least one part of the casing (top or bottom) needs to be removed
1.2 refer to other sources (Internet) to get information on which part needs removing on your ECU
2.Locate the ECU BDM connector
2.1 usually a set of 10 – 12 pads in two rows (depending on the ECU)
2.2 pads may be 2.54 mm or 1.27 mm apart (depending on the ECU)
2.3 rows may be 2.54 mm or 5.08 mm apart (depending on the ECU)
2.4 if the ECU BDM connector can not be located, chances are that the BDM pads are scattered all over the ECU PCB in which case you can not use the adapter directly – nevertheless it is possible to manually route the adapter BDM signals to the ECU BDM pads (only for advanced users)
3.Locate the ECU BDM pin 1 position
3.1 pin 1 is usually not clearly marked on the ECU BDM pin out
3.2 on an ECU with the standard Motorola BDM pin out pins 3 and 5 are connected to ground –this can be checked either visually or using a multimeter tool
3.3 refer to other sources (Internet) to get more information on the pin 1 position for your ECU
4.Place the desired adapter in the frame saddle
4.1 make sure the pogo pins are facing out
4.2 lift the saddle so that the ECU can be slided under the frame adapter saddle
5.Place the ECU on the frame
5.1 inspect the adapter for pogo pin 1 location which is clearly marked
5.2 rotate the ECU on the frame so that the adapter pogo pin 1 and ECU BDM pin 1 match
5.3 make sure ECU is firmly sitting on the frame
5.4 double check the ECU position
6.Connect the multiplexer board and adapter
6.1 at this point multiplexer board should be connected to the adapter via MUX connector
6.2 this will allow LEDs on the adapter to illuminate the area of interest (where the pogo pins need to touch the ECU BDM pads)
6.3 do not connect the tool yet
7.Connect the external power (+12 V) to the multiplexer
7.1 multiplexer external power is used to power the LEDs on the adapter allowing easier positioning of the adapter pogo pins on the ECU BDM pads
7.2 red LED on multiplexer board will light up when external power (+12 V) is present
7.3 at this point the white LEDs on the adapter should also light up
7.4 do not connect the tool yet
8.Fine tune the ECU position
8.1 lower the frame adapter saddle to almost touch the ECU BDM pads
8.2 each adapter pogo pin needs to sit on a separate ECU BDM pad
8.3 if pogo pins do not sit on the pads you may be using the wrong adapter – do not use the adapter in this case!
9.Lower the frame adapter saddle
9.1 each adapter pogo pin should sit on one ECU BDM pad
9.2 minimum down force should be applied when making the interconnection between the adapter and ECU
10.Double check the adapter pogo pin and ECU BDM pad interconnection
10.1 in order not to damage the ECU and/or tool make sure that the steps above have been
performed correctly
11.Connect the tool to the multiplexer board
11.1 only connect one tool at any given moment to the multiplexer
11.2 make sure to use the correct 10-pin IDC connector (FGTECH, XPROG, BDM100&KTAG)
for interfacing the tool used:
use provided 10-pin to 10-pin cable with FGTECH or BDM100 tools
use provided 10-pin to 16-pin cable with XPROG tool
use manufacturer 10-pin to 25-pin cable with KTAG tool
11.3 do not connect the tool to the 10-pin IDC connector labeled MUX
11.4 do not power up the tool yet
12.For Bosch adapter only
12.1 Bosch ECUs need to have ECU power supplied on the pogo pins (2 and 9)
12.2 some tools provide dedicated ECU power (BDM100, KTAG) while others do not(XPROG, FGTECH)
12.3 Bosch adapter can be used in both cases, providing that the jumper is properly placed on the 3-pin header (found on the adapter)
12.4 place the jumper on the adapter on the 3-pin header to the correct position:
place jumper over left and central pins when using XPROG and FGTECH tools – this will use +12 V power delivered from the multiplexer board (external power) for powering the ECU
place jumper over right and central pins when using BDM100 or KTAG tools – this will use+12 V power delivered by the tool for powering the ECU
13.For Siemens, Delphi and Marelli adapters only
13.1 Siemens, Delphi and Marelli do not provide ECU power on the pogo pins
13.2 in order to power the ECU +12 V and ground signals needs to be connected to the ECU separately (usually over the ECU interfacing connector)
13.3 in this case ECU power can be taken from multiplexer board connectors J2 (+12 V) and J3 (ground), otherwise provide the +12 V ECU power from additional source
13.4 refer to other sources (Internet) to get more information on the location of the +12 V and ground pin location for your ECU
14.Connect the tool to the PC (or power up the tool)
14.1 perform software installation as described by the tool manufacturer if not done already
14.2 at this point the multiplexer, adapter and the ECU should be properly interconnected with BDM signals and power lines
multiplexer red LED should be lit up
adapter white LEDs should be lit up
ECU power (+12 V) should be present
14.3 connect the tool to the PC (usually done over USB or serial connection)
15.Perform BDM operation(s)
15.1 start up the software package to operate the tool
15.2 perform desired BDM operation(s)Note: The user manual is used for reference; in fact, it depends. Try on your own risk.
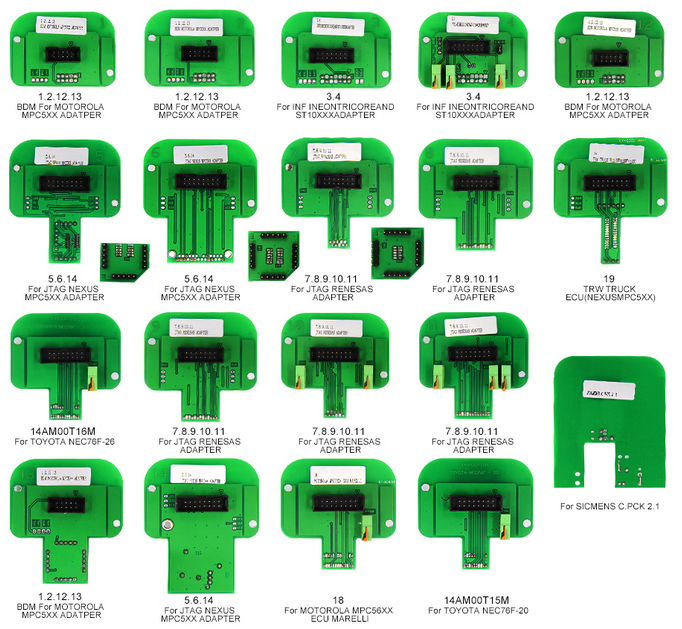
Package list
1 14AM00T01M Bosch
2 14AM00T02M Delphi DCM
3 14AM00T03M Bootloader ST10xx
4 14P600KT04 Infineon Tricore EDC/MED17
5 14AM00T05M Marelli MPC55xx JTAG
6 14AM00T06M Delphi MPC55xx JTAG
7 14AM00T07M Denso CN1 Boot
8 14AM00T08M Denso CN2 Boot
9 14AM00T09M Denso CN3 Boot
10 14AM00T10M Denso CN1 AUD
11 14AM00T11M Denso CN2 AUD
12 14AM00T00M Delphi DCI
13 14AM00TBAS Base Adapter 1.27
14 14AM00T14M NexusEFI T6 Lotus
15 14AM00TB02 Magneti Marelli BDM insert
16 14AM00TB01 Siemens BDM insert
17 14AM00TB03 EDC7 BDM insert
18 14AM00T18M Magneti Marelli MPC/SPC56xx
19 14AM00T13M Nexus MPC5xx TRW ECU
20 VAG 1.6tdi - Siemens-Continental PCR2.1
21 14AM00T15M Toyota NEC76F-20
22 14AM00T16M Toyota NEC76F-26
User Comment(Total 1 User Comment Num)
| Please feel free to contact us ,If you have any question:
Email: Sales@obd2tool.com Whatsapp: +8618437976115 skype:chryssan2006 
Shipping Terms:
Shipping Time:
Return Policies:
Contact Us: Attention: PLZ leave your telephone number and address in detail when you take order in our website, it is very important to ship your order. (Customers from Brazil PLZ leave your Cutsom ID also, thanks!) |


All OK. Programmer works flawlessly. Recommend
Reply #1 by Kelly Apr 14,2021
Hello, Thank you so much for your feedback.If you have problem to use our tool, Please no hesitate to contact us.
Kelly