The virtual truck feature is designed to show the vehicle diagnostic and repair capabilities of ACom PRO without having to be physically connected to a vehicle. Any calibrations,
configurations, testing, faults and functionality of ACom PRO in virtual truck are simulations. So here car-auto-repair.com show you guide on how to use Bendix Acom Pro virtual truck connection functions.
Related Contents:
JPRO Noregon Commercial Fleet Diagnostics 2023 2021 Free Download
Procedures:
1.Select the F8 key or the Connect button on the main toolbar.
2.You will be prompted for the connection type. Select the Truck Simulators button.
3.Choose Virtual Truck from the Select Virtual or Demo Truck screen.
4.The application will enter a truck simulation mode allowing you to exercise application features for training and educational purposes.
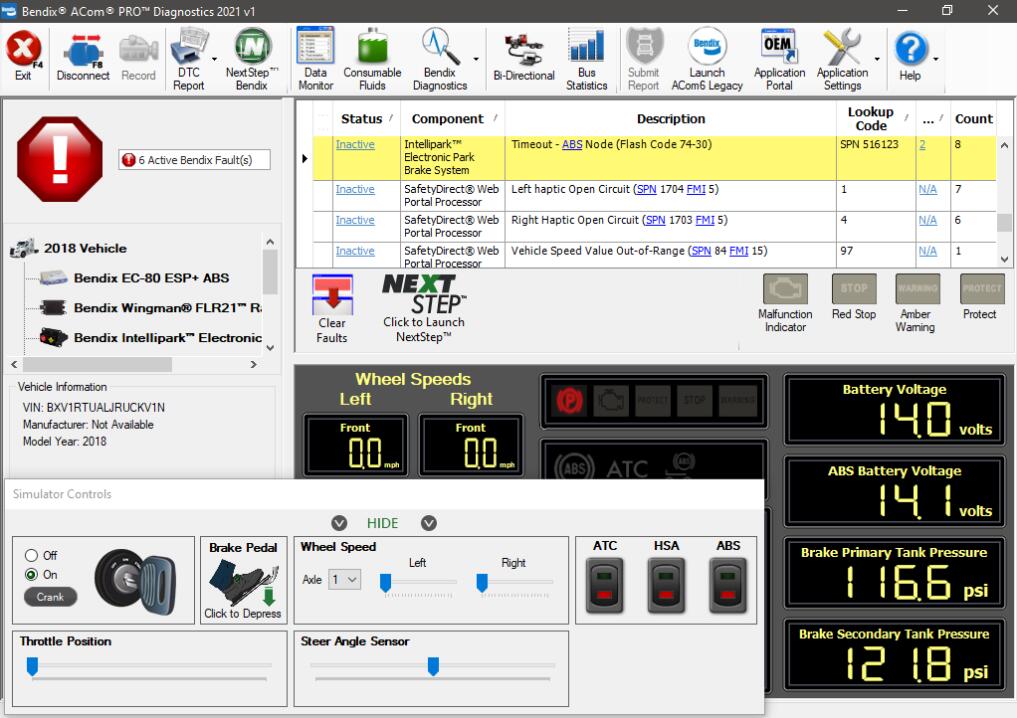
5.The simulation will behave like a Heavy-Duty vehicle connection. The Vehicle Readiness, Fault Code Information and Key Data Points windows are displayed.
Initially, the top portion of the Vehicle Readiness window will indicate the gathering the vehicle’s information. Once all vehicle information has been retrieved, the health of the vehicle is displayed.

6.Explore Bendix® ACom® PRO™ Diagnostics features such as NextStep™ Bendix, Data
Monitor, Connector Info, Bus Statistics, Clearing Faults, as well as exercising bidirectional tests. These features will behave exactly as if you were connected to a normal Heavy-Duty vehicle connection.
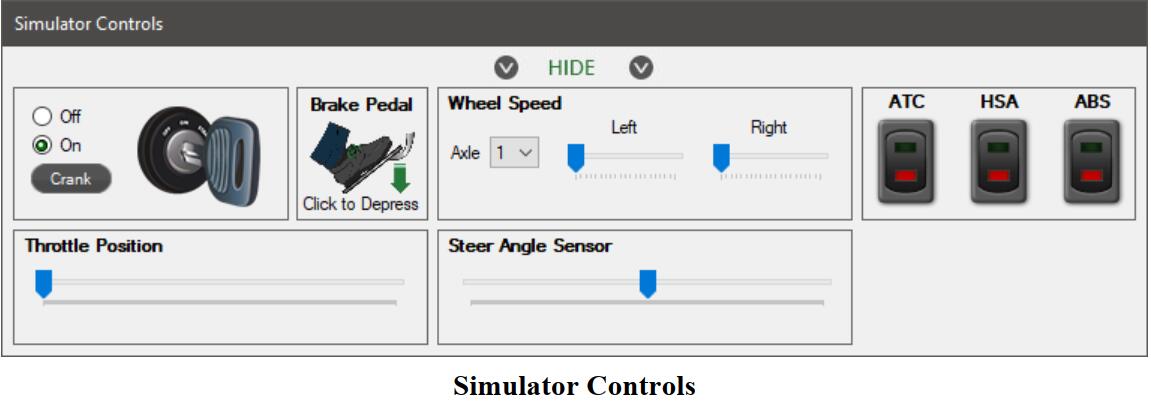
7.Use the Simulator Controls to adjust wheel speeds, cycle ignition power, or perform other functions as instructed during some bi-directional tests. Click on the key to toggle the ignition state. Press and hold the Crank button to simulate engine cranking.

NOTE: The ability to initiate a Recording or Submit Warranty are not available when connected to a Virtual Truck.
8.Select the F8 key or the Disconnect button on the main toolbar to close the virtual truck simulation session.
