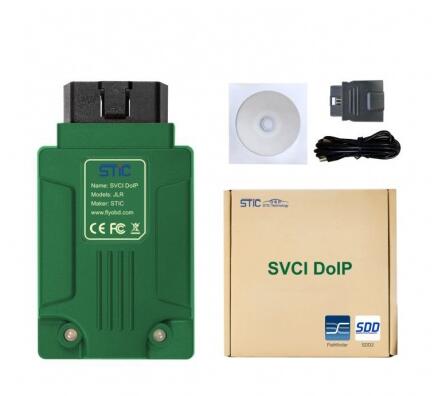
This is installation procedure for JLR DoIP SDD:
Right click on “SDD_157_Full” and choose “Run as administrator.
Choose Language:
Chinese (simplified),
Dutch
English (United States)
French (standard)
German
Italian
Japanese
Korean
Portuguese (Brazilian)
Portuguese (Standard)
Russian
Spanish
Click on “Next” to go on…
SDD V157 install requires the newest Adobe Reader, click “OK” to update.
Installing JLR_IDS_INSTALL_TOOLS.
It pops up “Would you like ActiveCGM to be the default TIF viewer?
Click on “No”.
Click on “HV Safety” to setup.
SDD is configuring your new software installation.
Install MOXA UPort 1110/1130/1150 Windows Driver Ver1.6 on your computer.
Click “Next”, then “Install”, then complete.
SDD is configuring your new software installation, it will take several minutes.
InstallShield Wizard complete.
Restart the computer.
Back to DVD, right click on “SVCI DoIP D-PDU and Passthru Driver Set…”
Choose “Run as administrator”.
Select Language (English and Chinese only)
Click on “Next”;
Click on “Next”;
Click on “Next”;
Click on “Install”;
Click on “Finish”, complete the SVCI D-PDU and Passthru Driver Setup Wizard.
Plug SVCI DoIP cable into the computer, wait until the device is ready to use.
Right click on “Computer” – “Manage” – “Device Manager” and if you can see “COM5” , that means SVCI DoIP cable has established a good communication with the computer.
Right click on “JLR SDD” and choose “Run as administrator“.
Launching SDD.
Continue.
Continue (SVCI DoIP cable is allowed to connect network connection)
Enter dealer information.
Click on “Continue“, you can notice “Device Connected“.
Click on “AutoVIN Read“.
High line instrument cluster.
Click on “Diagnosis“.
Choose “System” (SVCI DoIP can access to Land Rover L319 Chassis, Powertrain, Electrical, Body etc).
View DTCs for PCM module.
Market specification.
Loading recommended Candidates.
DTCs by ECU.
As you can see SVCI DoIP JLR can also perform service Functions.


