Here is the instruction show you guide on how to install PSI Power Link diagnostic software.
Procedures:
1 Download PSI PowerLink from PSI PowerLink 2.3.1 Diagnostic Tool Free Download
2 Double click setup file to start installation

3 Click the Install PSI PowerLink button
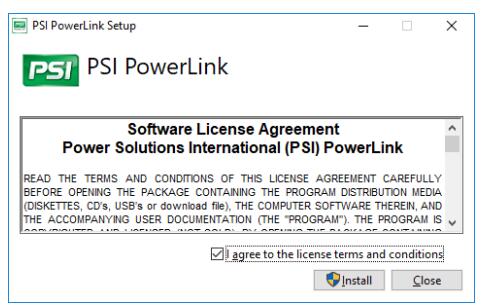
4 The End-User License Agreement (EULA) window displays. Read through the EULA and select “I agree to the license terms and conditions” and press Install Button
5 The installation checks to see if you have the proper version of the .NET Framework and Crystal Reports for .NET Framework. Note: The installation the Crystal Reports
and .NET Framework may take several minutes.
6 The Welcome to the PSI PowerLink window displays. Select Next.
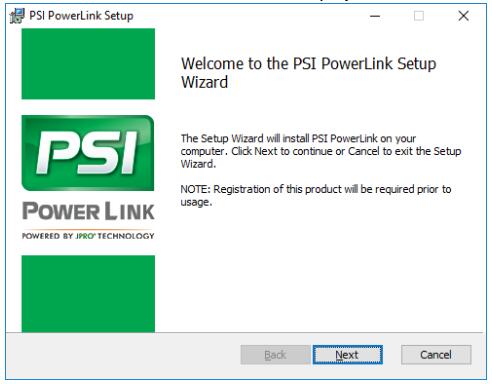
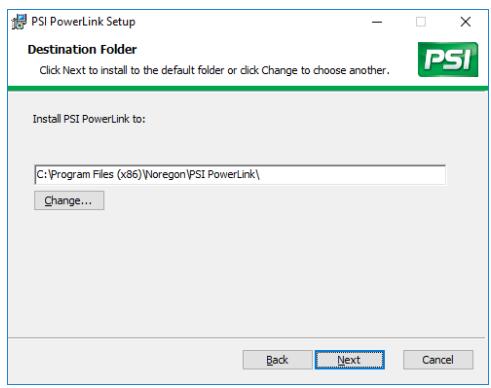
7 The installation program automatically chooses to install the PSI PowerLink Application software at C:\Program Files (x86)\Noregon\PSI PowerLink. You may choose another location by clicking the Change button, navigating to the desired location and clicking OK.
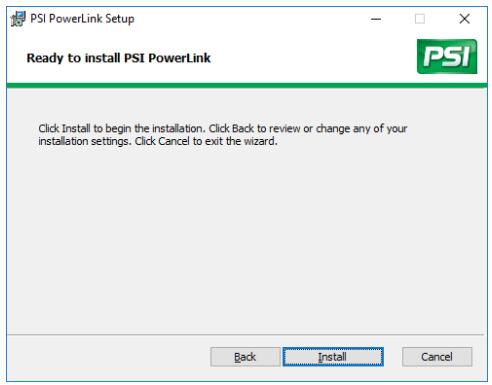
8 Click Next to display the confirmation window then select the Install button start copying files to the computer.
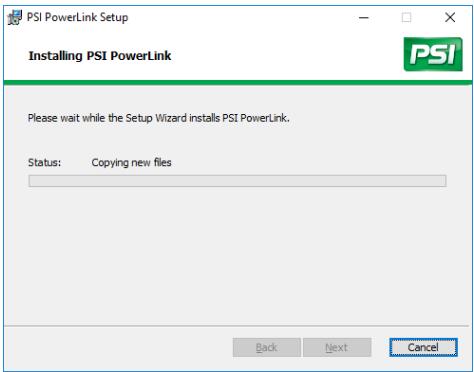
9 A progress indicator will display while PSI PowerLink is installed on your PC.
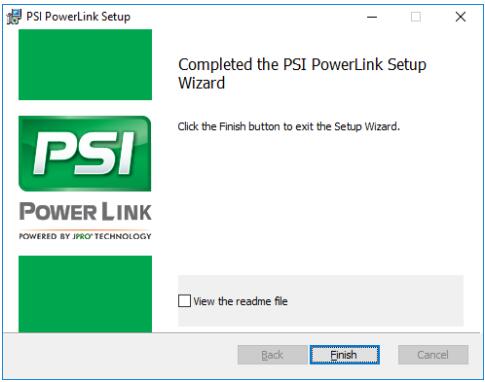
10 When the install is complete, the following window will be displayed. The readme file can be read by clicking the check box and hitting Finish.
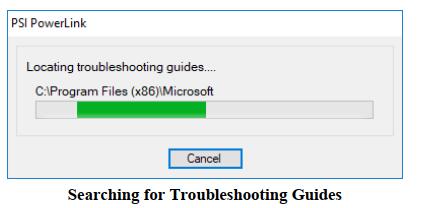
11A process to search for available troubleshooting guides will be initiated. A progress indicator will display while searching. This step will search or all available troubleshooting guides on your PC and link them to PowerLink. You may click Cancel to abort the search at any time.
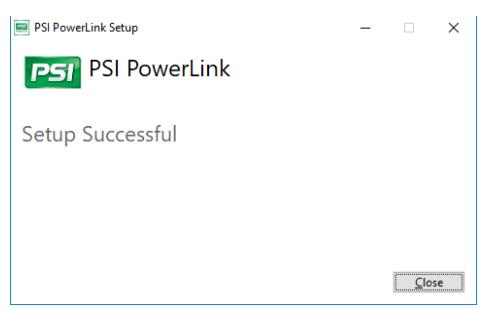
12 Once the search is complete, the Setup Successful window will be displayed (See Figure Below). Click Close to return to the PSI PowerLink Installation splash screen.
13 Click the Install DLA Drivers button from the PSI PowerLink Installation splash screen.
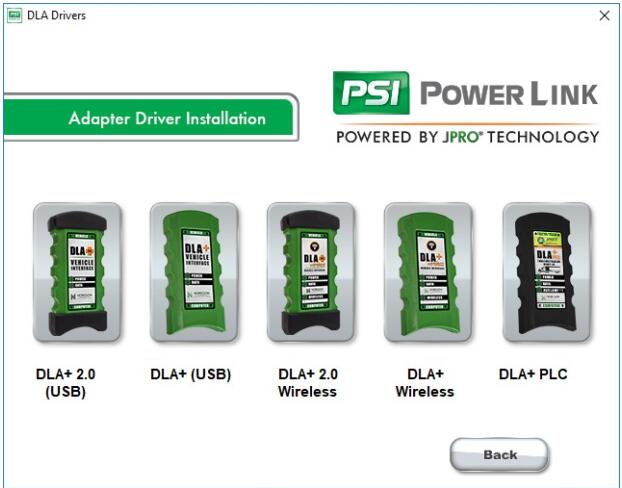
14 Select your adapter from the installation screen and follow the on-screen instructions to complete driver installation.