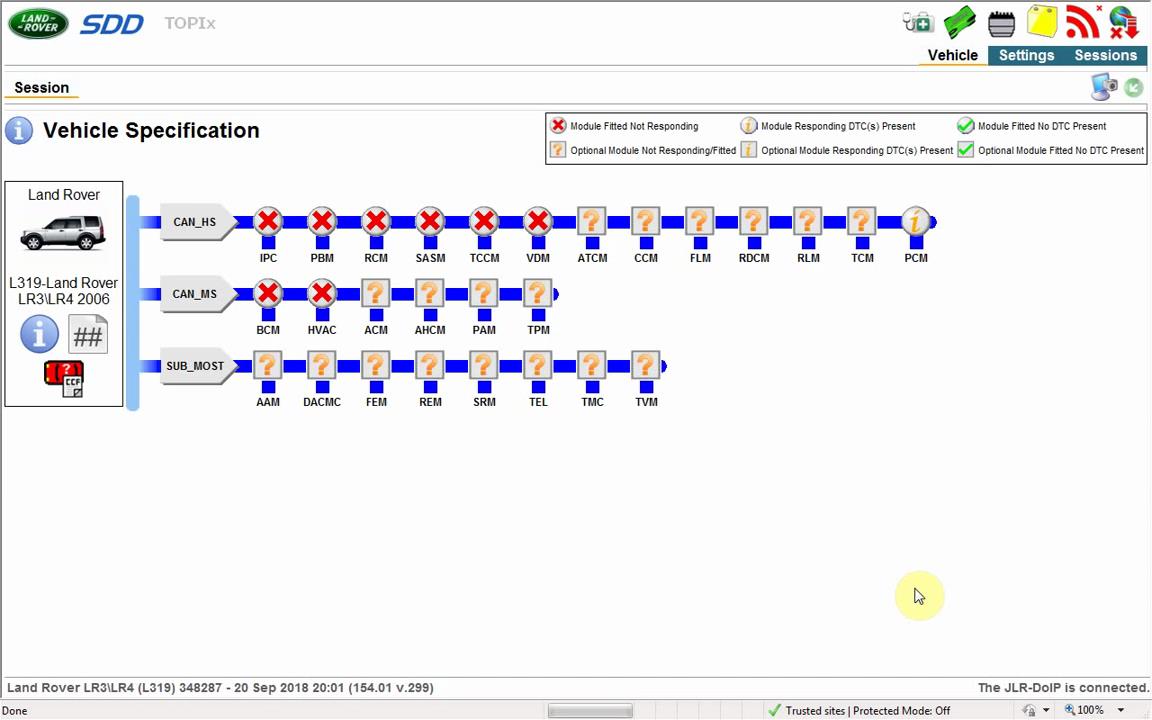
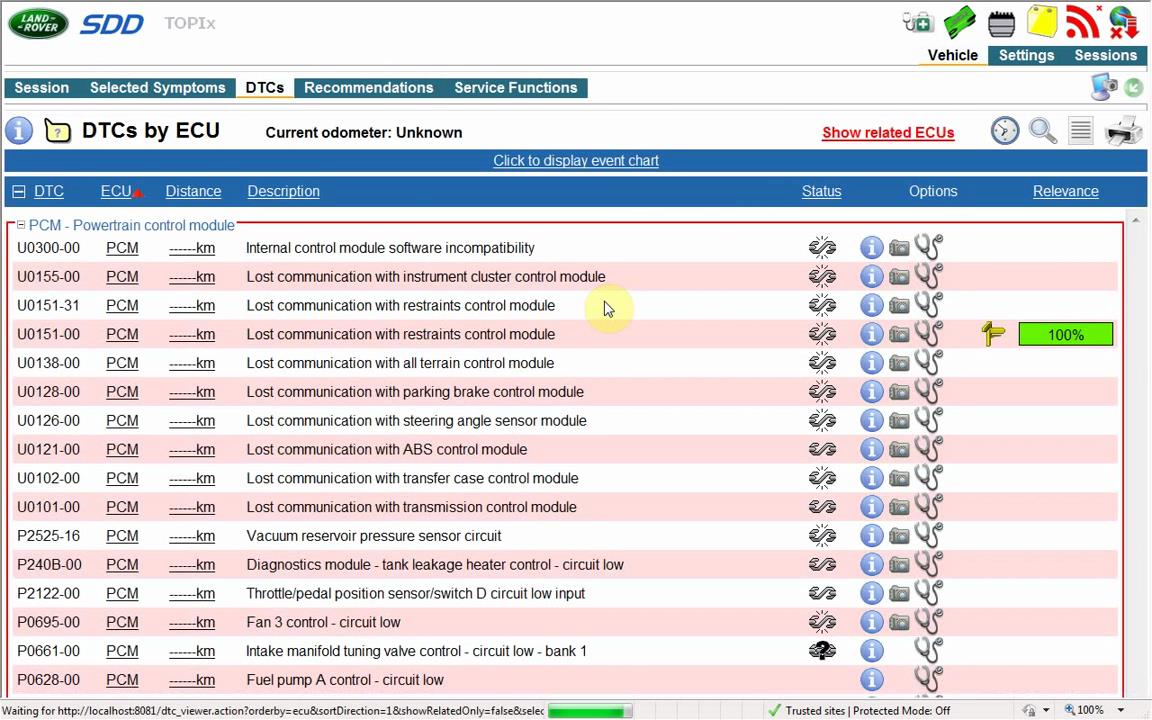
What is JLR Pathfinder?
JLR Pathfinder is newest diagnostic software which designed specifically for Jaguar and Land Rover. It is a high-quality and Jaguar Land Rover approved product. Limit your expenses and keep your customers happy by investing in this nifty tool. You won’t need to send vehicles to main dealers, meaning you can limit your site to site travel and in return, save yourself time and money.

JLR Pathfinder Support Vehicle Models:
Land Rover:
Range Rover L405 (17MY)
Range Rover Sport L494 (17MY)
New Discovery L462 (17MY)
Jaguar:
F-TYPE X152 (18MY)
F-PACE X761 (18MY)
XE X760 (18MY)
XF X260 (18MY)
The new JLR approved DOIP VCI is the only unit that will be compatible with Pathfinder and all JLR vehicles with the new vehicle architectures (from the Range Rover/Range Rover Sport (L405/L494) 17MY onwards) or allow the enhanced diagnostics that Pathfinder will offer the retailer. Follow is How to Configure WiFi and USB for Original JLR DoIP VCI.
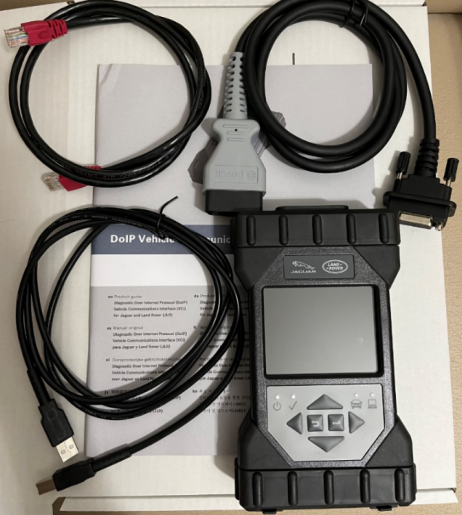
Part 1: How do I Setup WiFi connection for the original JLR DoIP VCI?
Procedure:
Connect JLR DoIP VCI W-F interface with vehicle
Connect the other end of VCI with laptop via USB cable
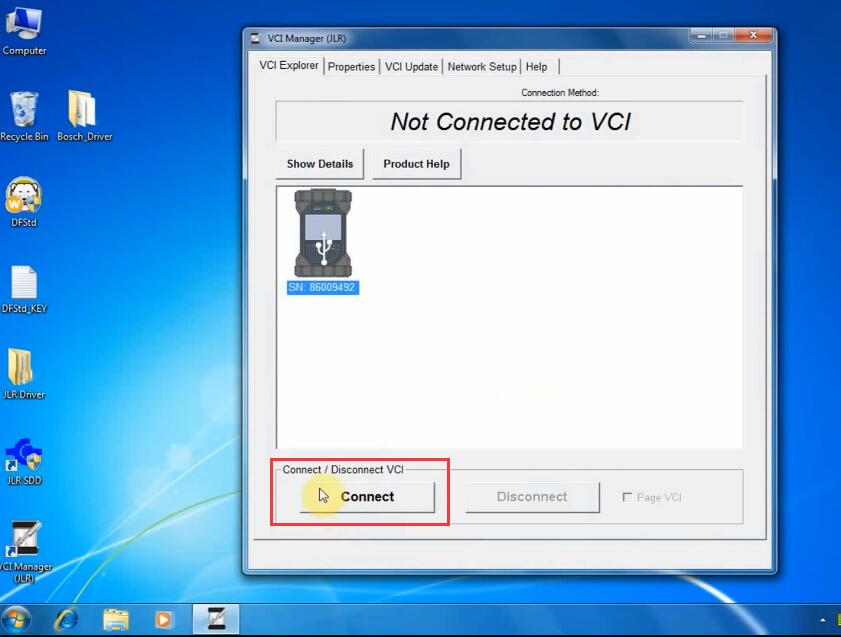
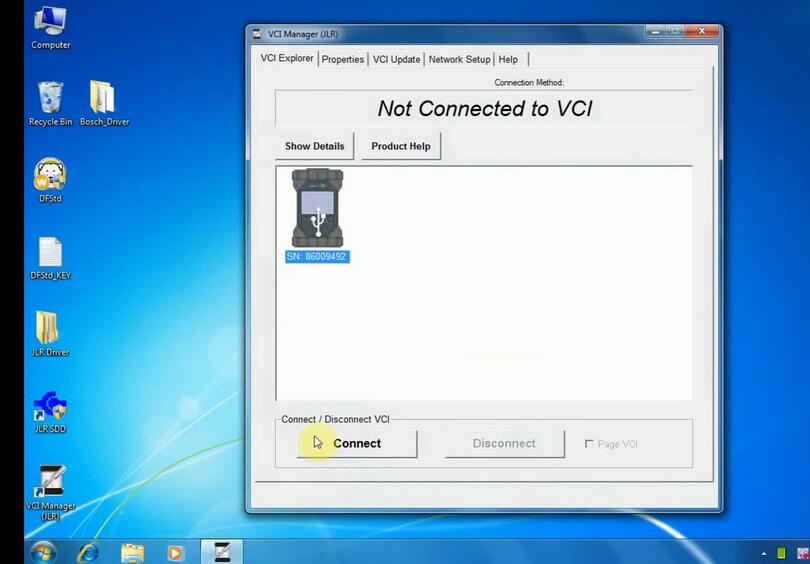
Open VCI Manager (JLR), press Connect
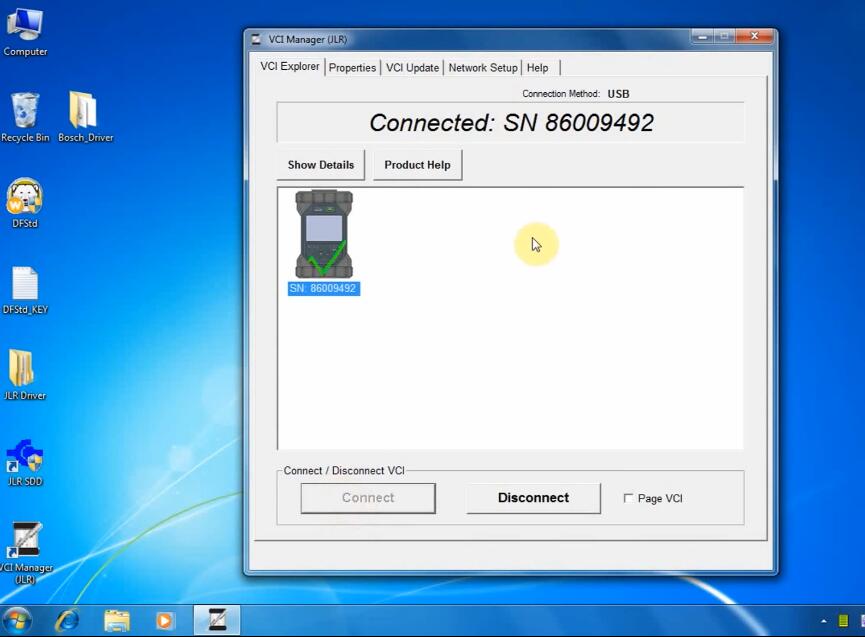
Choose Network Setup tab->Wired Etherent
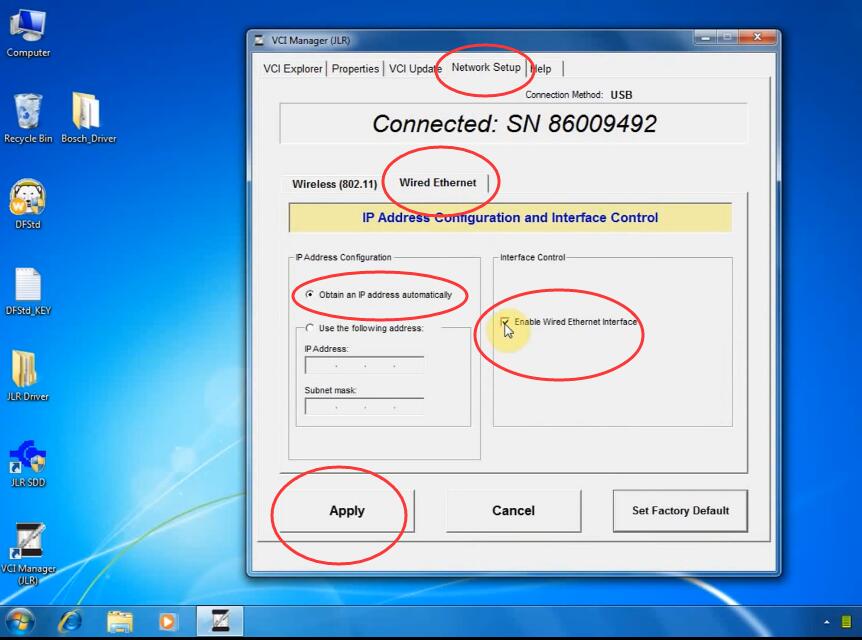
Tick Enable Wired Etherent Interface
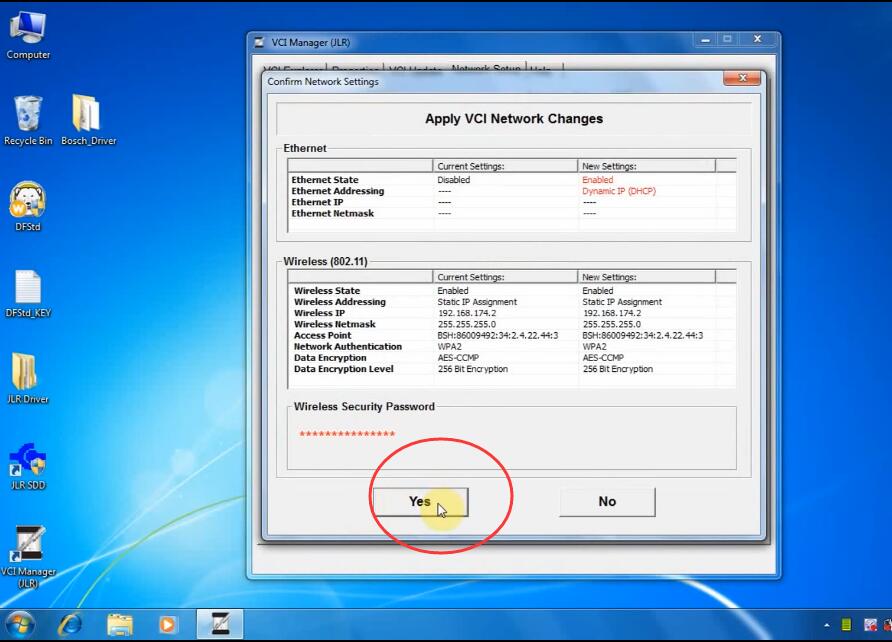
Press Apply button and Yes
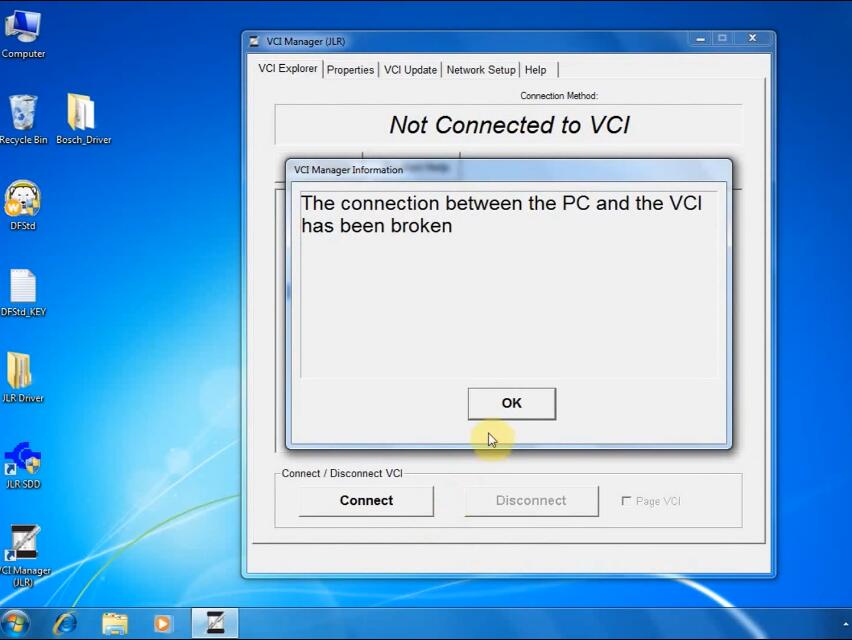
Then disconnect USB connection
Close VCI Manager
Open VCI Manager again
Press Connect
Go to Network Setup->Wired Etherent
Press Set Factory Default
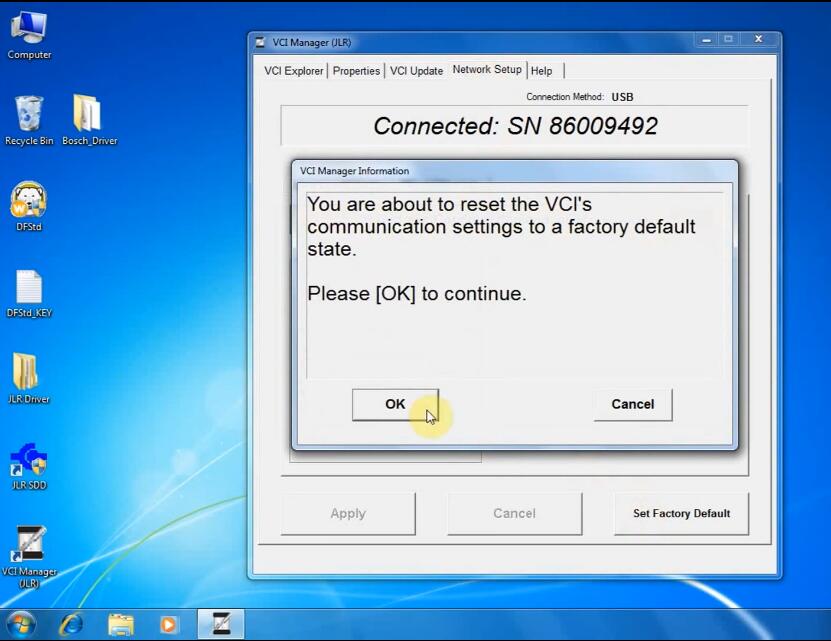
Press OK if system prompts you are about to reset the VCI communication settings to a factory default state.
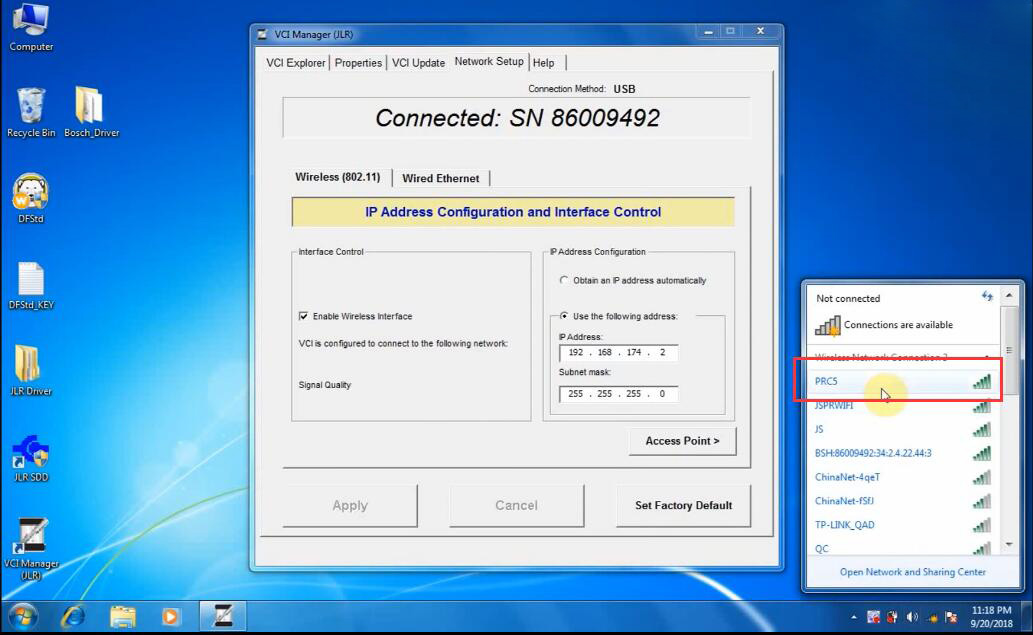
Enable network connection
Press Set Factory Default again
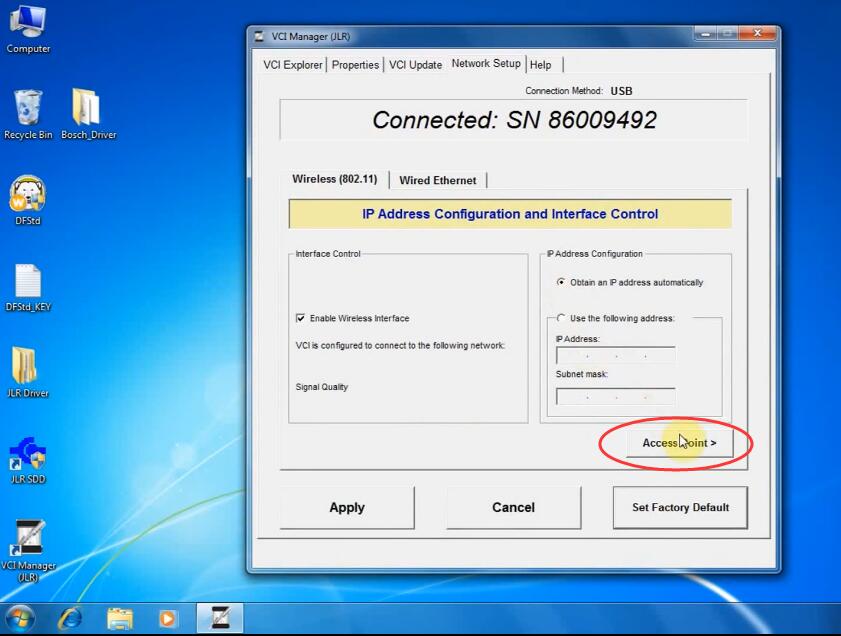
In Wireless (802.11), choose Obtain an IP address automatically, then press Access Point
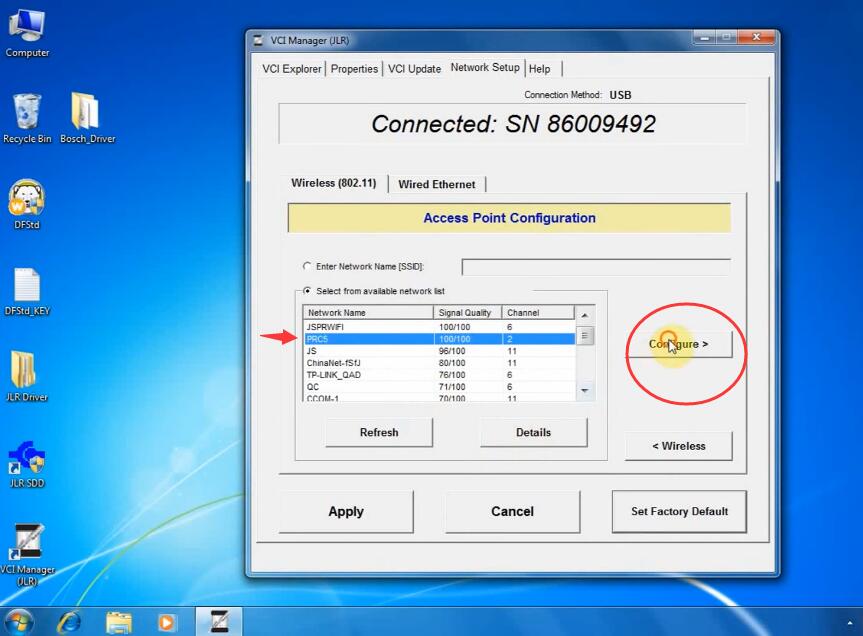
Choose Wireless resource which is the same as the your network
Press Configure
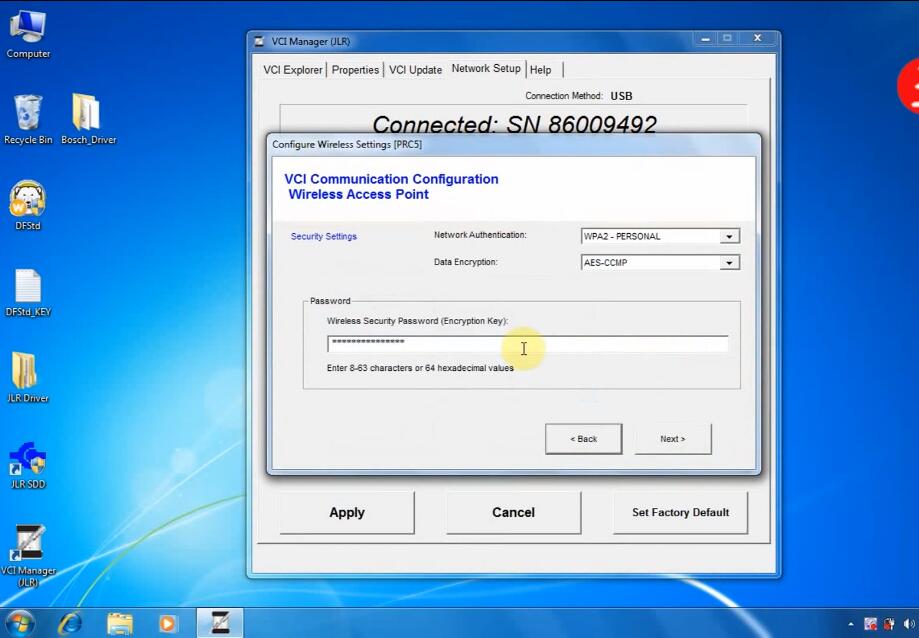
Enter wireless security password (encryption key)
Press Next
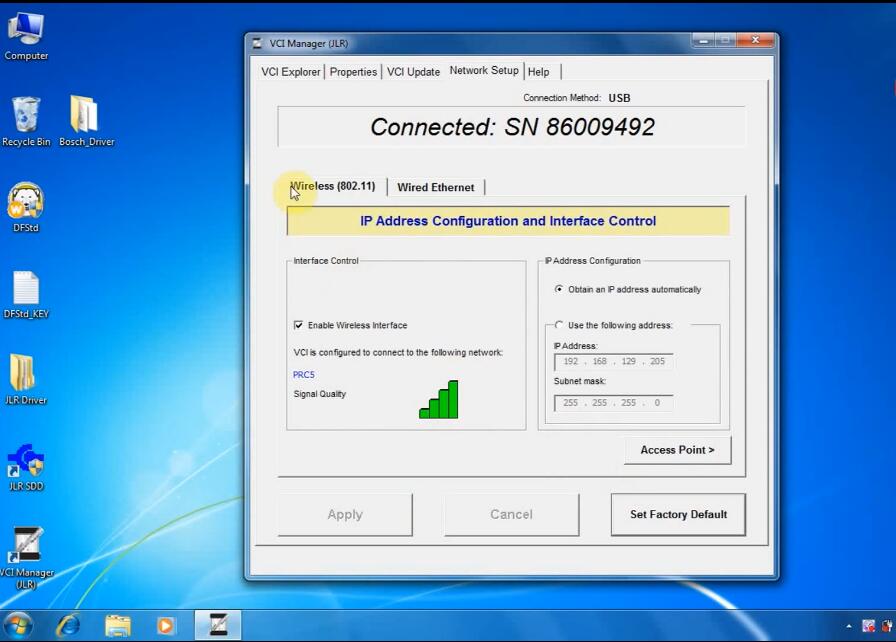
JLR VCI is configured to connect to your network
Disconnect and then Connect VCI
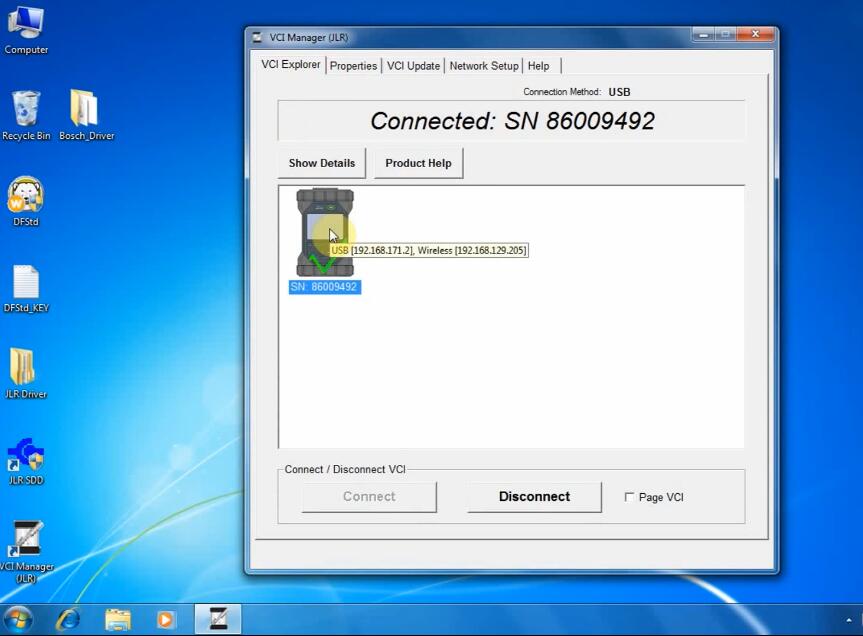
It shows WiFi connection is done
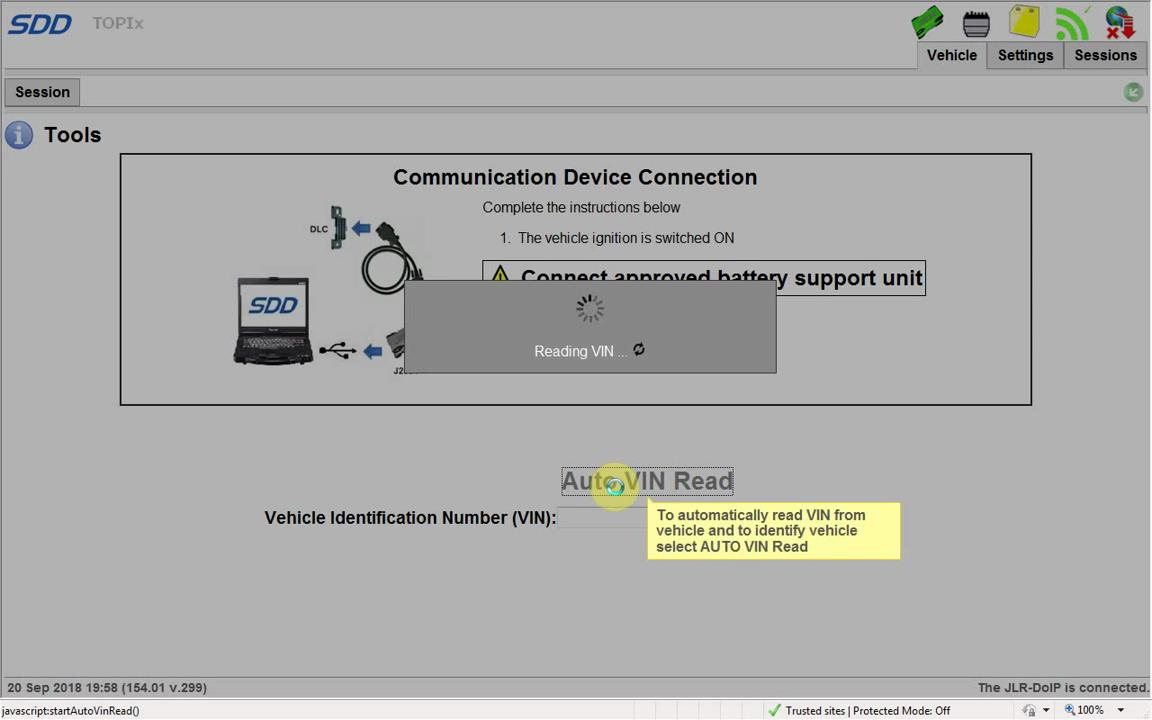
Open JLR SDD software on desktop
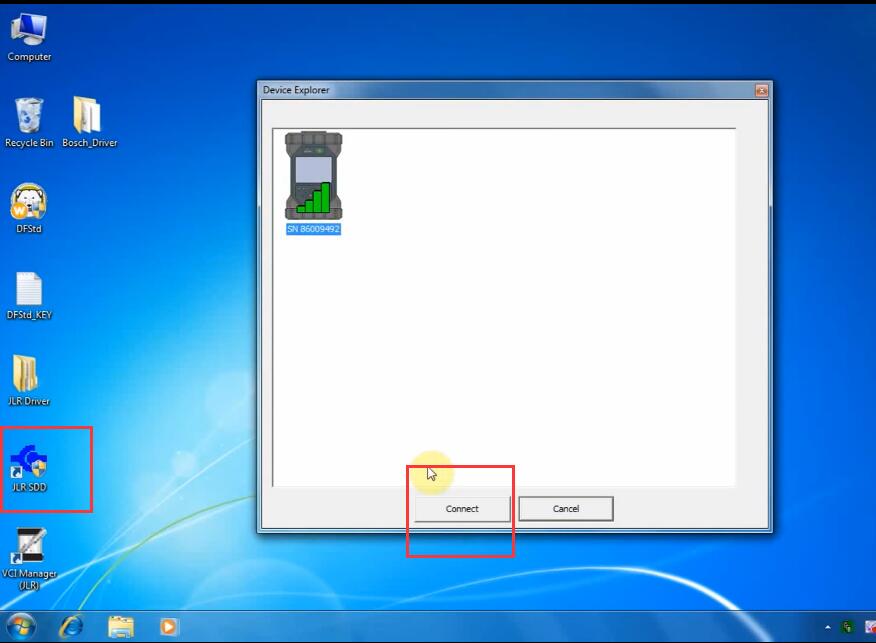
Press Connect
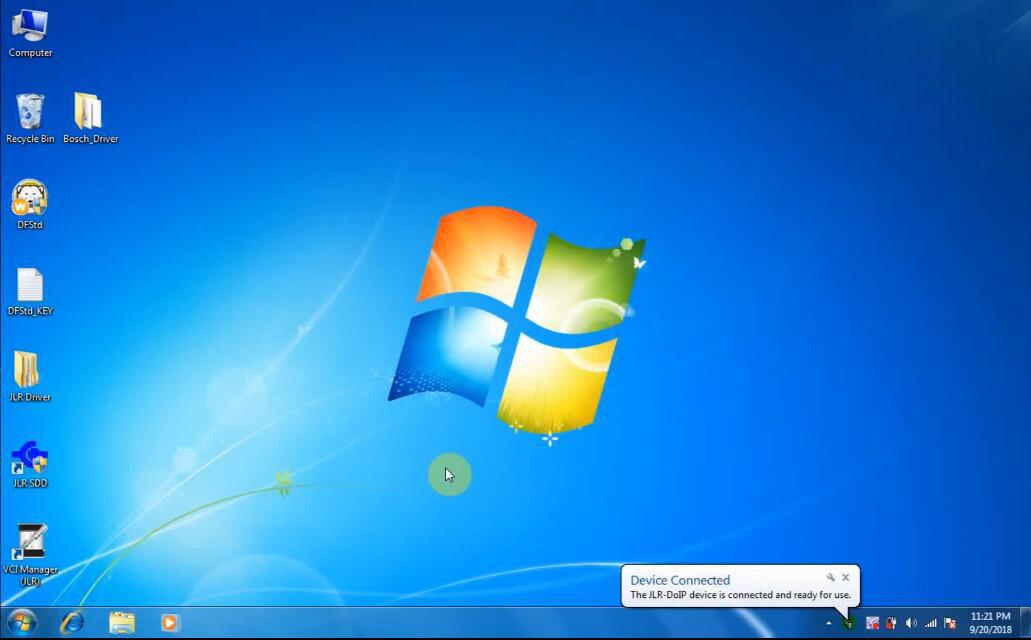
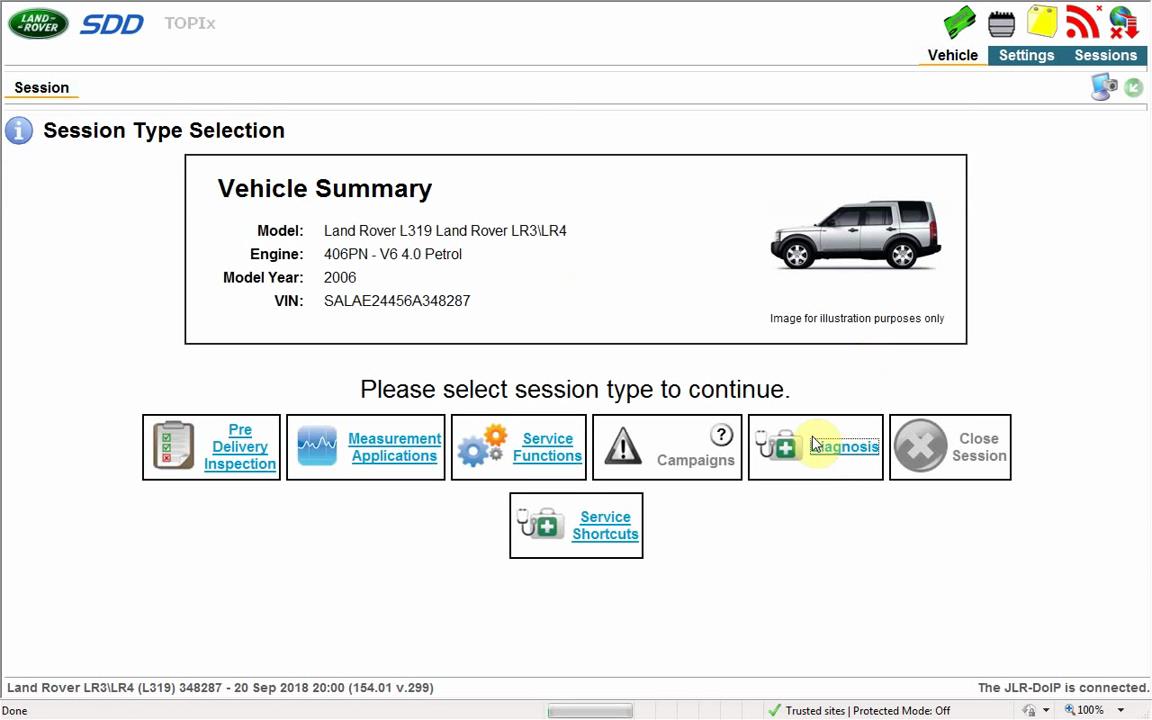
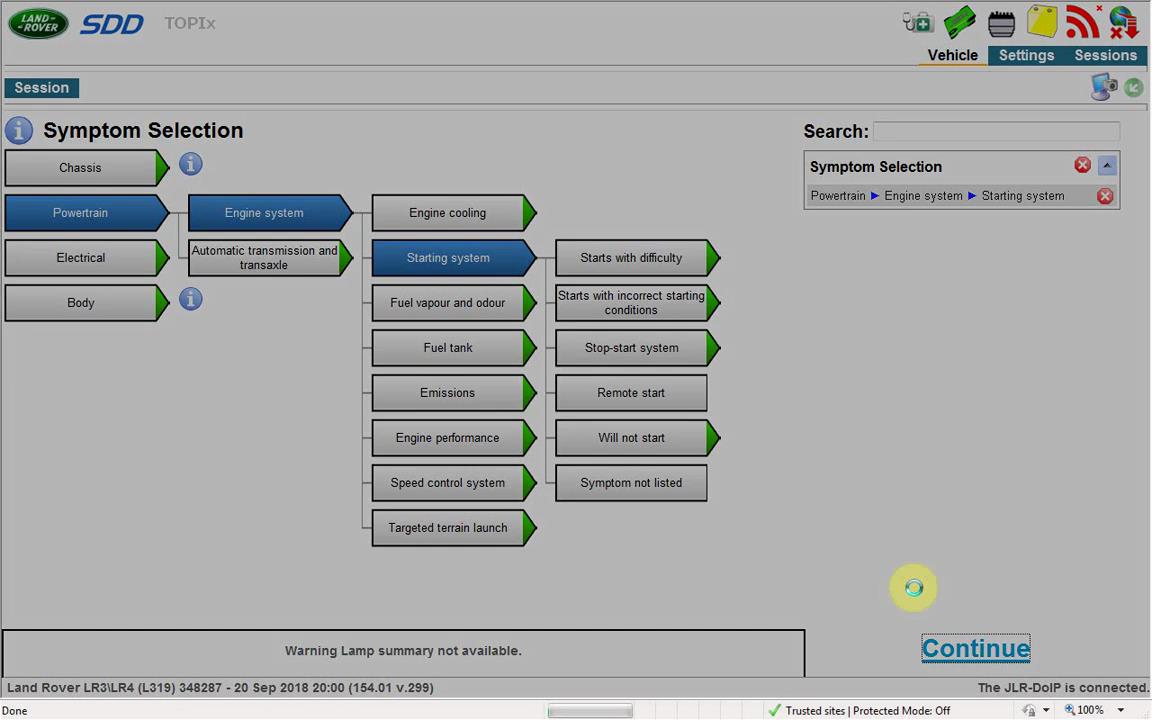
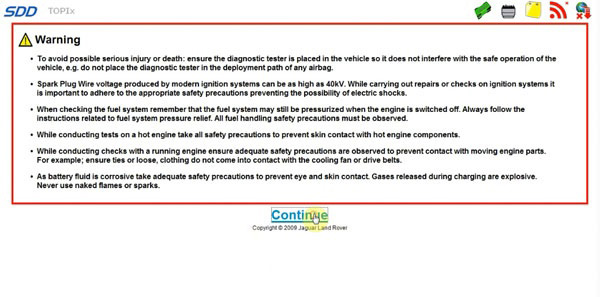
Now you can run SDD software for diagnosis
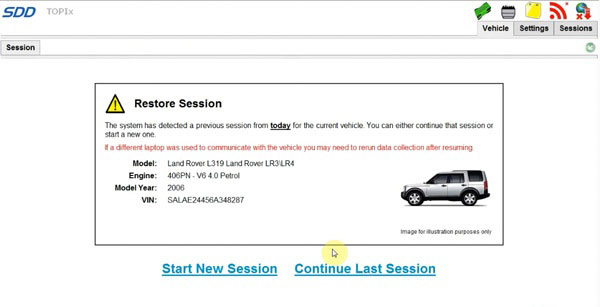
Part 2: How to connect JLR DoIP VCI via USB
To setup USB connection, you need to download Bosch driver for VCI first:
https://mega.nz/#!aqwnhbQS!KS7QhERmZ4cCcZfvT2iXkdYN6ynz9vDQ3DmPQRGm0TU
Open Bosch_Driver folder
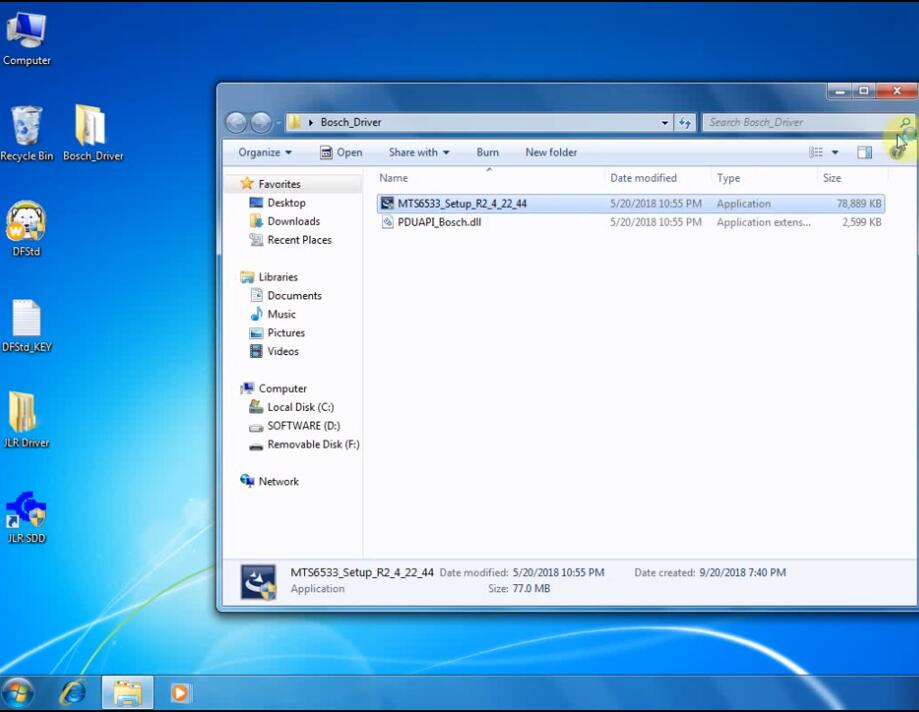
Open MTS6533_Setup
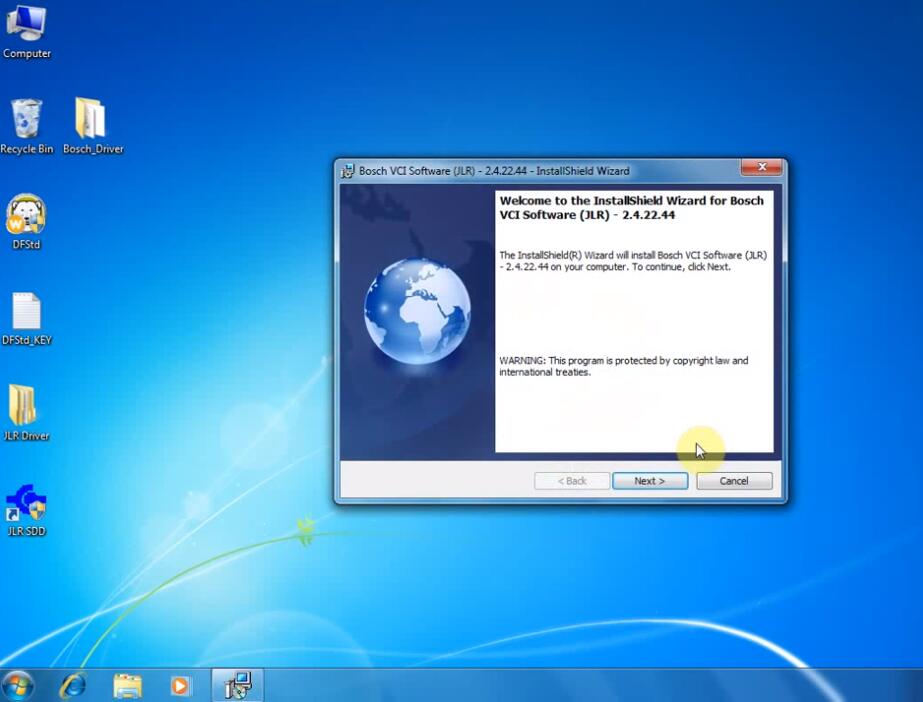
Install Bosch VCI Software (JLR)
Press Next
Press Next
Press Install
Finish installing Bosch VCI software
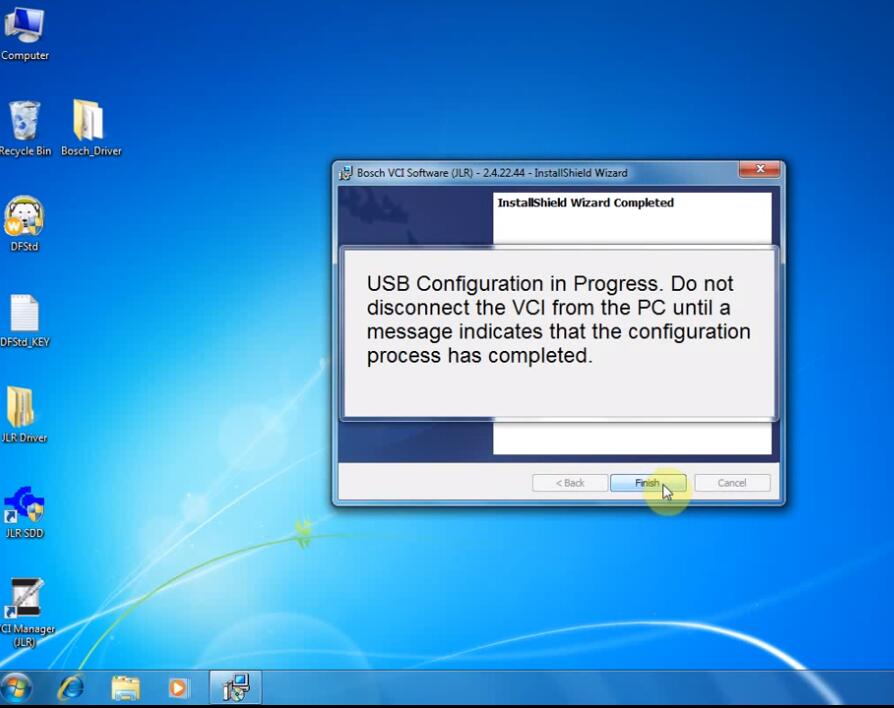
USB Configuration in progress. Don’t disconnect JLR VCI from PC until a message indicates that the configuration process has completed.
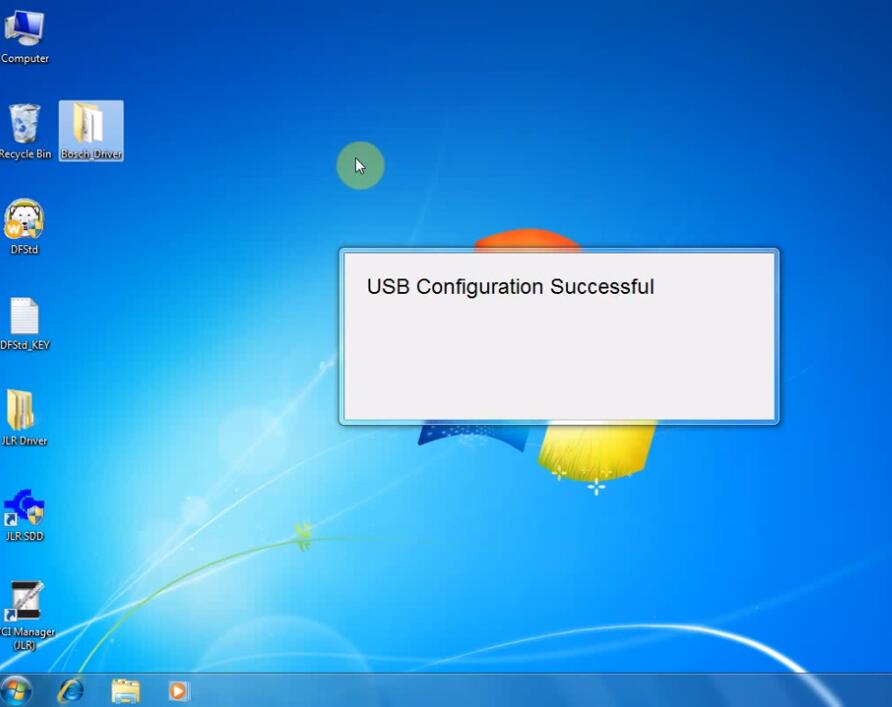
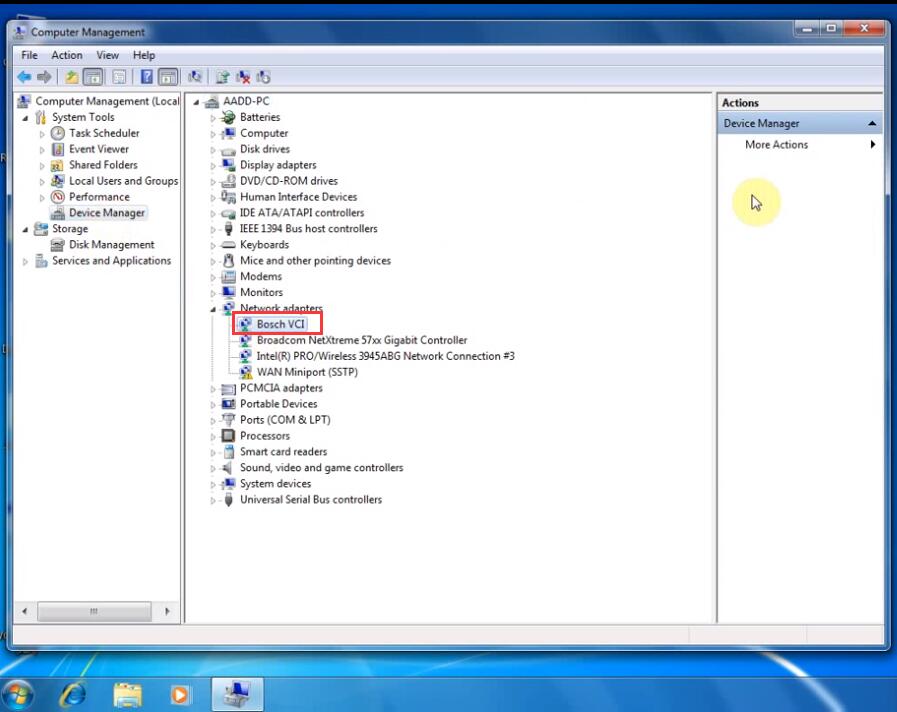
Open Device Manager to check the Bosch JLR DoIP VCI adapter is well connected
Open VCI Manager on desktop to make sure the Manager detect JLR VCI which indicates interface is well connected
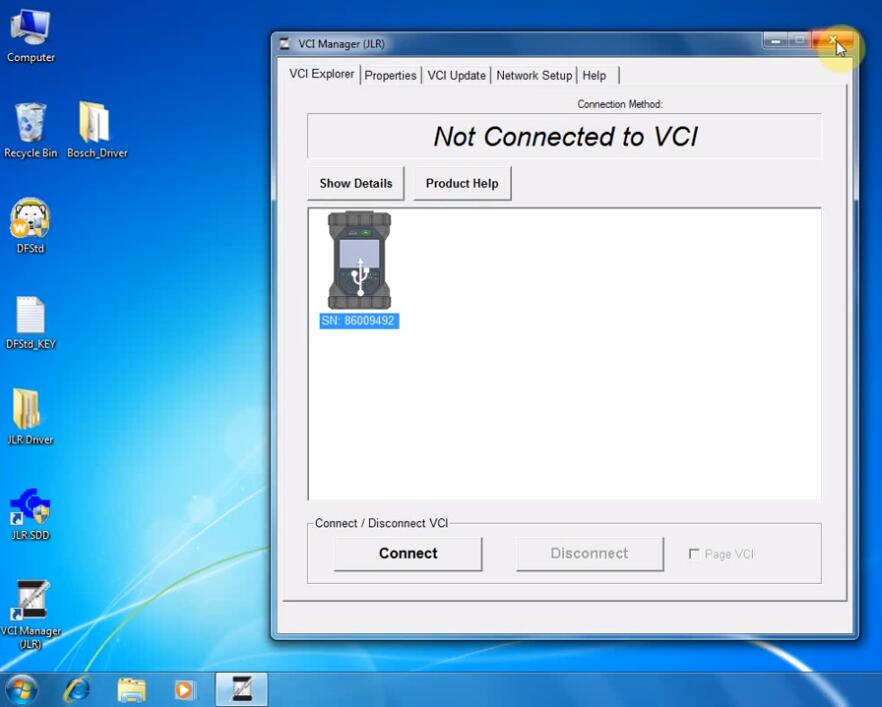
Right click JLR SDD software on desktop->Find File location C:/Program Files/JLR/SDD/Runtime
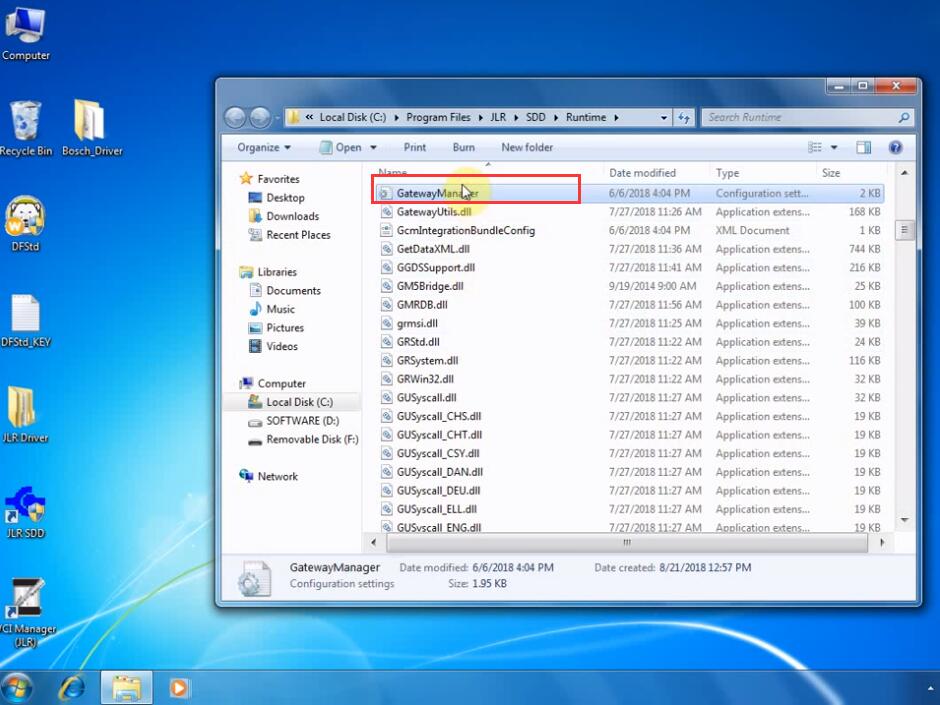
Open the GatewayManager with Notepad
Find “Device5 = JLR-DOIP” and change value to “, Device5 = JLR-DOIP”
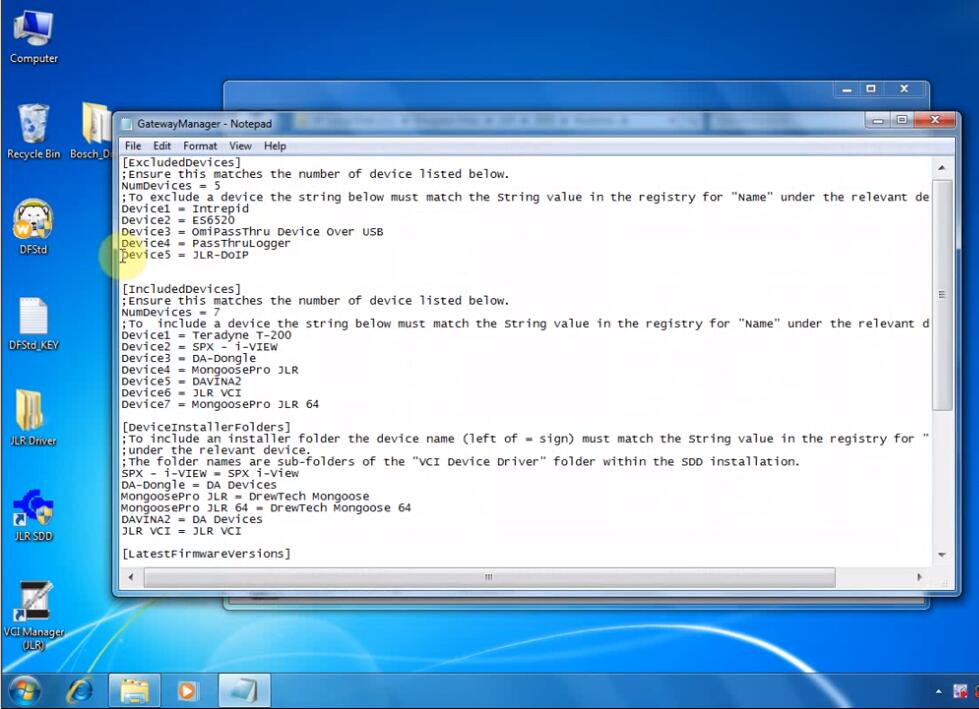
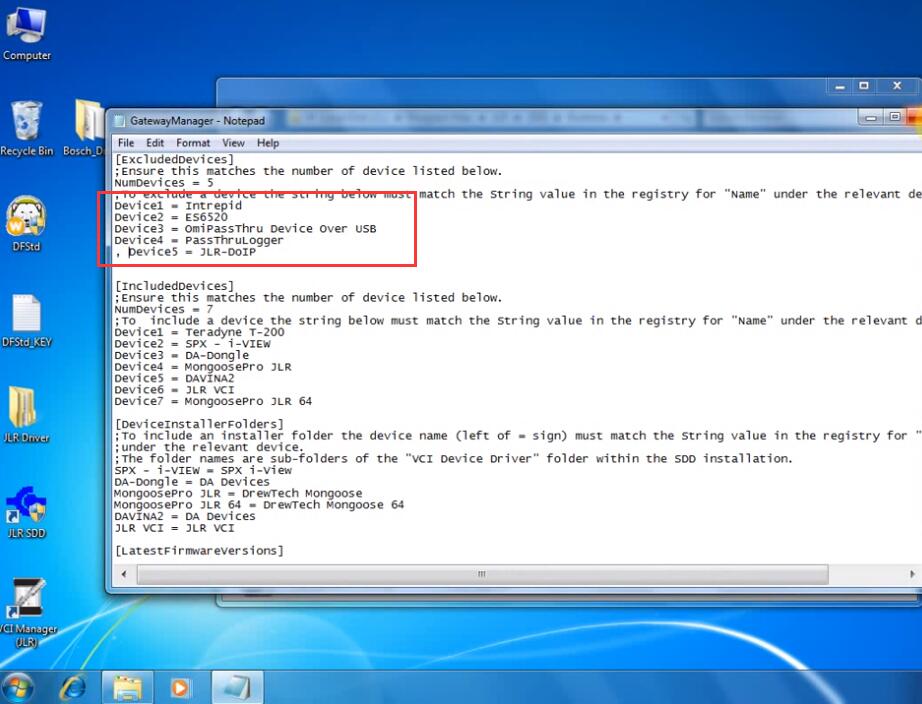
Find Go to C:/Program Files/JLR/IDS/Runtime
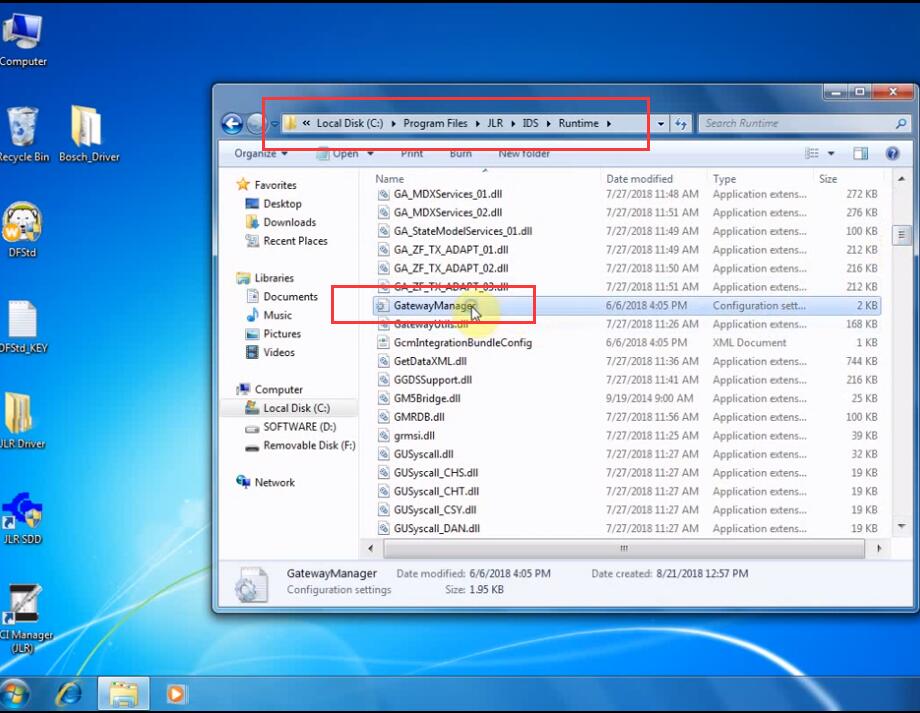
Open the GatewayManager with Notepad
Find “Device5 = JLR-DOIP” and change value to “, Device5 = JLR-DOIP”
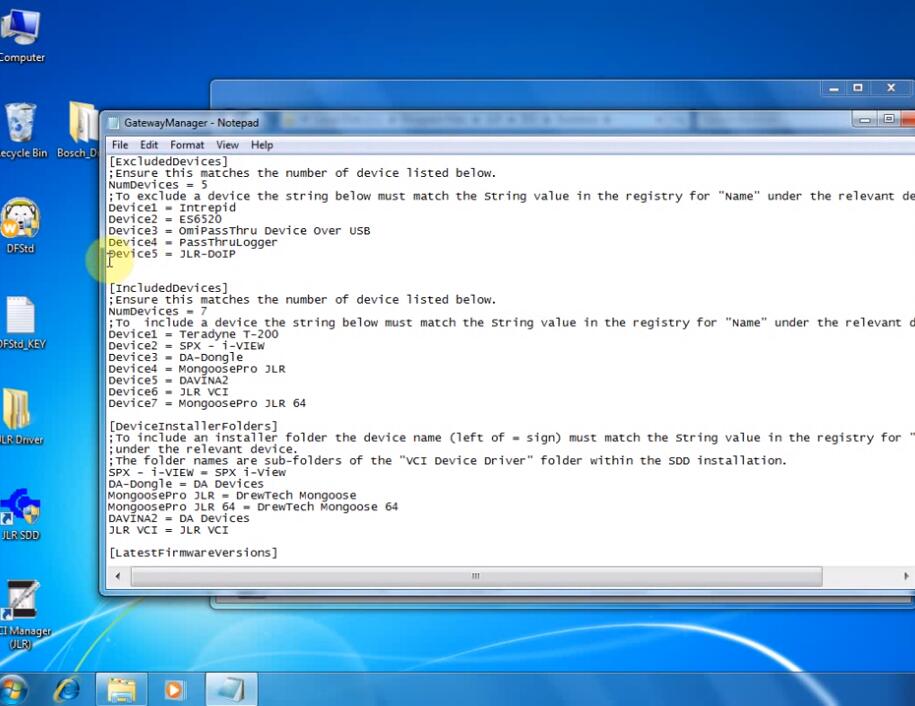
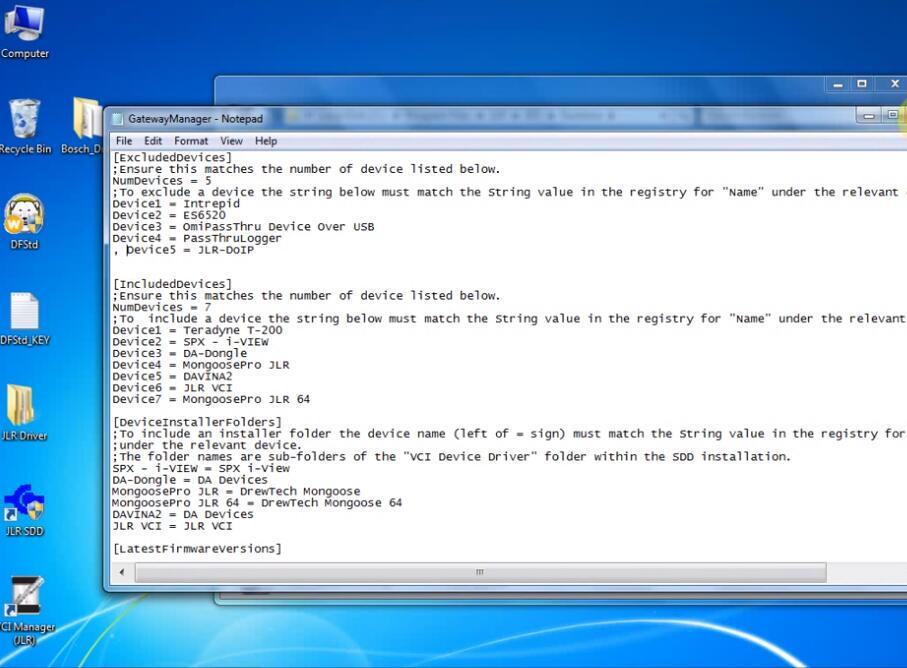
Setup completed.
Now you can run JLR SDD and Pathfinder software
