Now the fun begins… The good news is that Xentry is quite easy to use and it’s more straight-forward than many of the OBD2 scanners out there, including those from Foxwell and ThinkDiag – although, as mentioned above, those are fine devices too. In addition to being more user-friendly, it’s also faster, provides helpful diagnostic hints and instructions, and is overall, just much more powerful – as one would expect, since this is the OEM software.
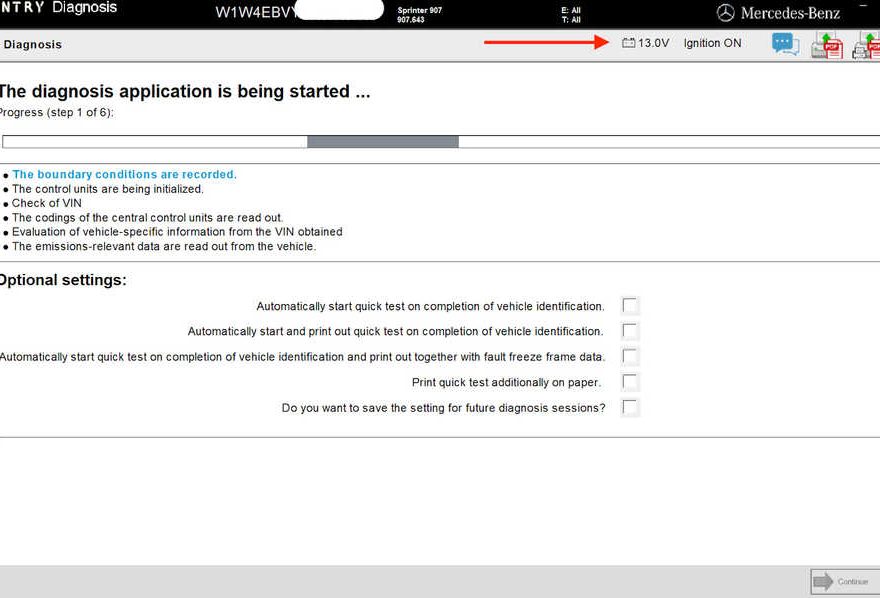
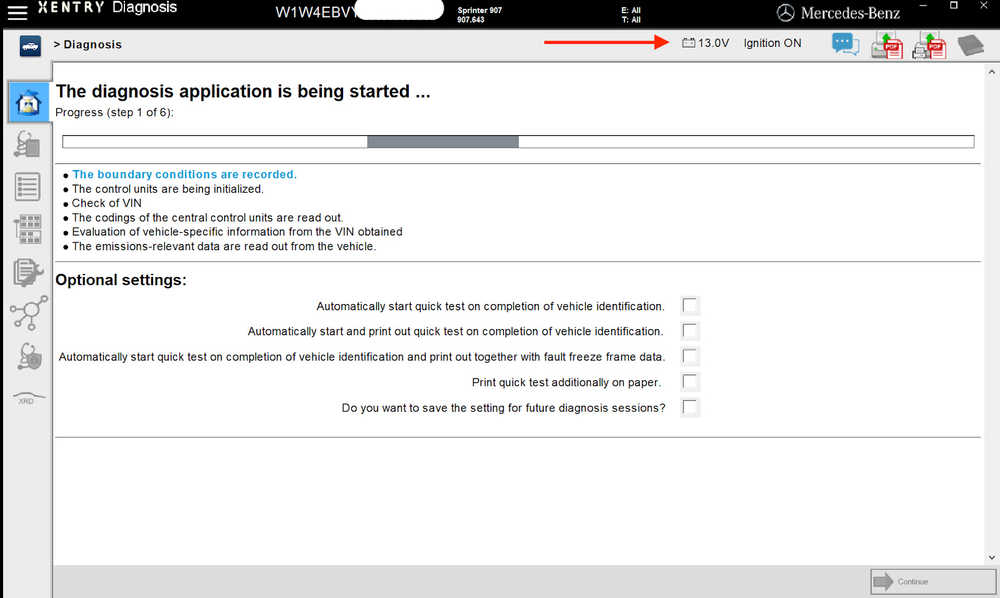
Before you start, make sure everything is connected, the VCI interface is active (check your taskbar), the DoIP switch is on, and the van is on, engine off. Boot up Xentry and it should automatically read your VIN if you’re using an “OpenShell” version. Wait a little and if everything is connected properly, Xentry should read your OBD voltage and status of the ignition:
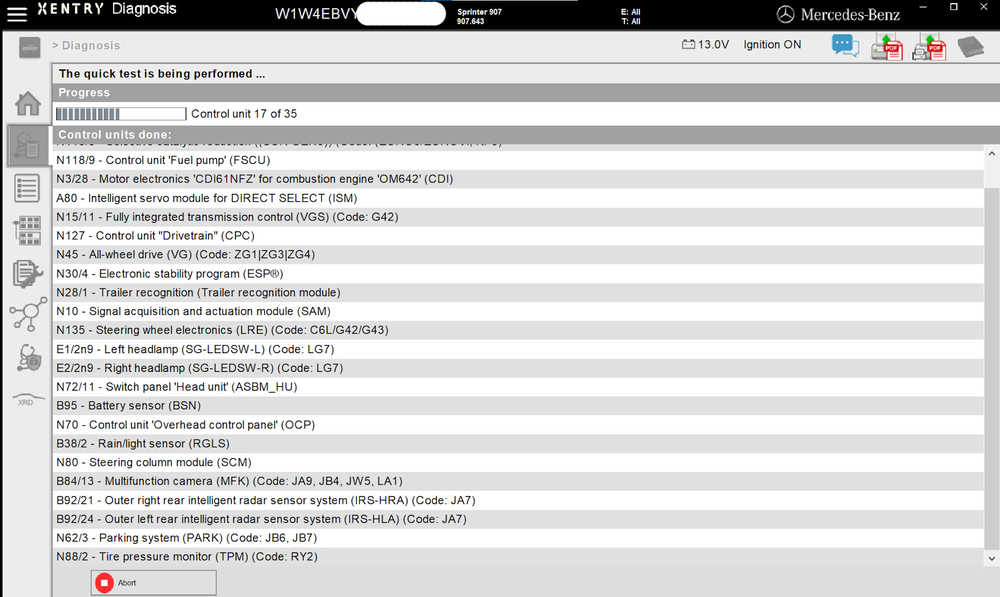
Once initial steps have completed, press the second tab on the left to go to the “diagnostics” portion of Xentry. Run a Quick Test and you will see the program running through all the various components (ECUs) in your van. These will be helpful for DTS Monaco too, so more about that later.
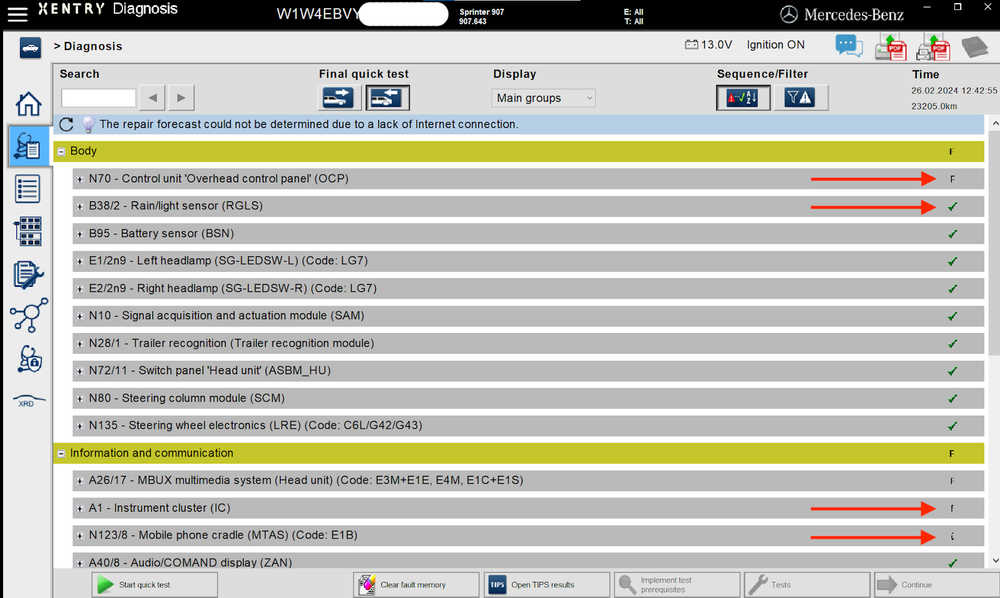
Once the Quick Test has completed, you’ll get the results, including whatever error codes Xentry might have found. You can use the “Sequence/Filter” to just show error/event codes – otherwise all tested modules will be shown. On the right, you’ll see the following:
F = fault that is stored and current. These can’t be cleared because of an underlying problem.
f = older fault that was stored. You can clear these (but note, if the underlying cause is not fixed, they’ll come back).
𝒾 = some sort of “event” has occurred, but it isn’t a fault. This simply means that additional information related to a specific test result is available, but it varies what that information is. Click through and Xentry will tell you. Typically, these can be ignored – for example, during my test it flagged the “Mobile phone cradle”, but that isn’t installed as an option in my van and Xentry, correctly, told me I could ignore the event. Typically (always?) these also cannot be cleared.
✔︎ = test passed without issues.
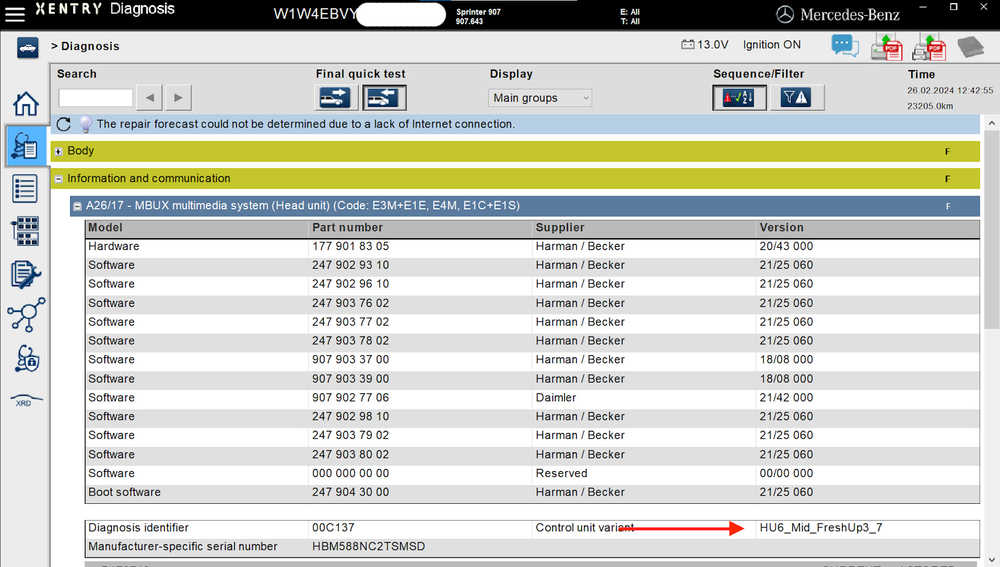
If you double-click a specific module, it will take you through to a screen with much more in-depth information about the fault/event/test, including listing part-codes and the relevant ECU.
As mentioned above, the ECU information is required for setting up DTS Monaco correctly, so remember to come back to this. In the image below, I clicked through a stored and current fault in my 10” MBUX multimedia system and you’ll see the relevant ECU listed as “HU6_xx”. Note, the screenshot doesn’t actually show the code itself – that’s information underneath that I didn’t grab.
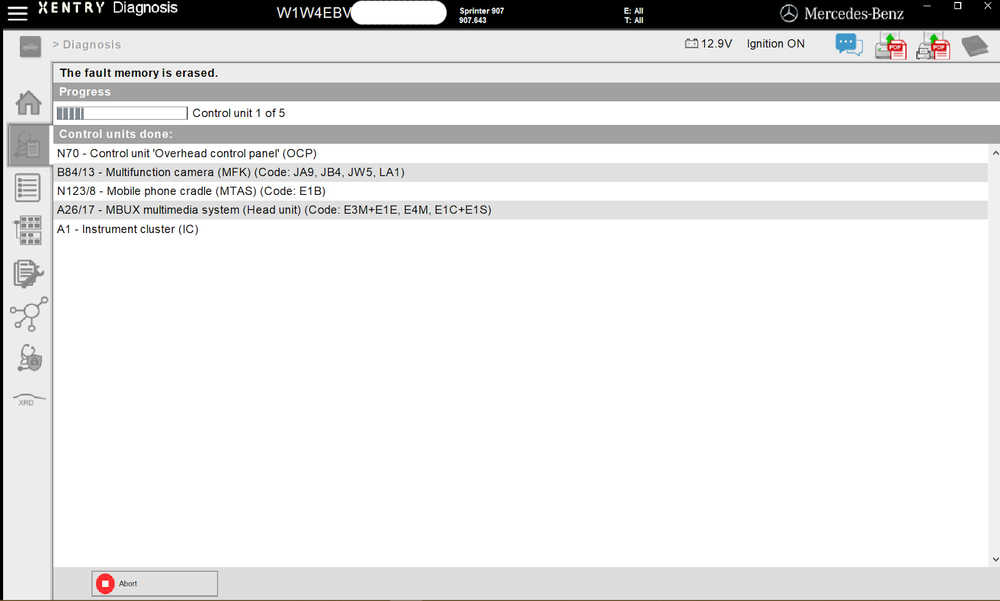
Once you have gone through and looked at the various codes, go back to the main “Diagnosis” screen where you can clear the codes (DTCs) by pressing the “Clear fault memory” button (see image on previous page). You’ll get the following:
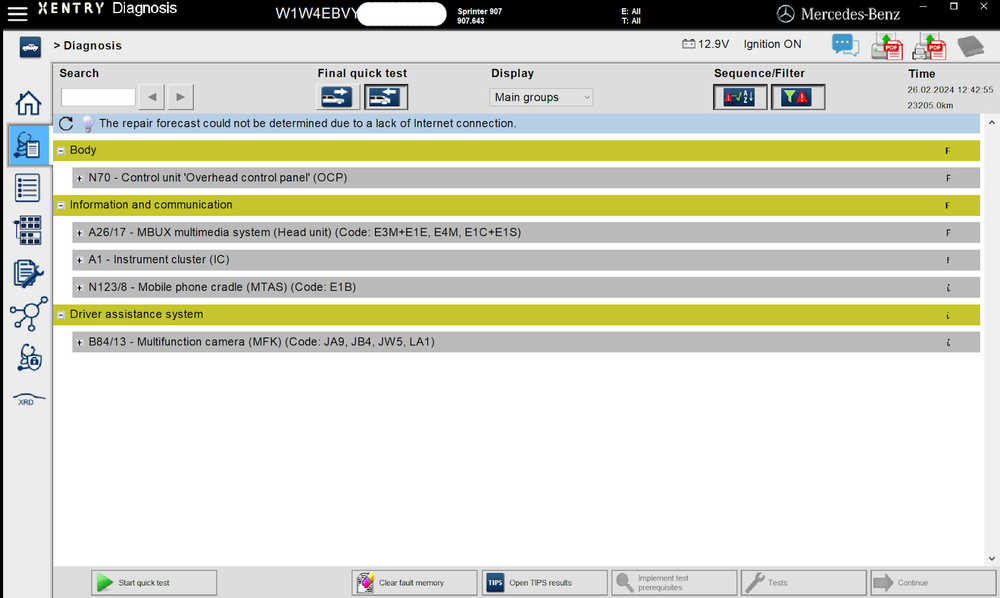
If you run a fresh quick test, you’ll see that the stored codes have been cleared:
That’s all I’ll cover for Xentry. There are many other useful functions, but once this is up and running, spend some time familiarizing yourself with the software. Xentry can do much more than simply reading and clearing codes, and you can read out values from your sensors, run adaptations, install new sensors, and more. All of this is well-beyond this simple “getting started” writeup, but note that there’s a difference between “OpenShell” and “PassThru” versions of Xentry as it comes to these functionalities.