The reason why I purchased MB SD C4 Plus with DoIP instead of the genuine MUX?
A genuine unit is either unaffordable or makes no sense (outside of EU and US, where you can’t get official MB accounts or support anyway).
Then, I purchased MB SD C4 Plus with DoIP (calling it XC4Plus also), because I didn’t want to dick around with retrofit DoIP kits, wifi cards, incompatibility issues etc.
The reason I believe MB SD C4 Plus all working is that I pull it apart for inspection immediately.
Tested working:
1.I could do DAS on a C219
2.The wifi works great and there’s zero config to make it work. Its a bit of a hack but its implementation is pretty smart (and economical) compared to the other “XC4 Plus” which has an entirely new logic PCB incorporating the wifi and ethernet switch. Although the other “XC4 Plus” or whatever its called has an integrated heatsink, which is a plus on the surface, actually means diddly squat with the unit being enclosed. we need to get the heat OUT of the case. More on that later
What I inspect and what I tried to retrofit:
Overview of MB SD C4 Plus
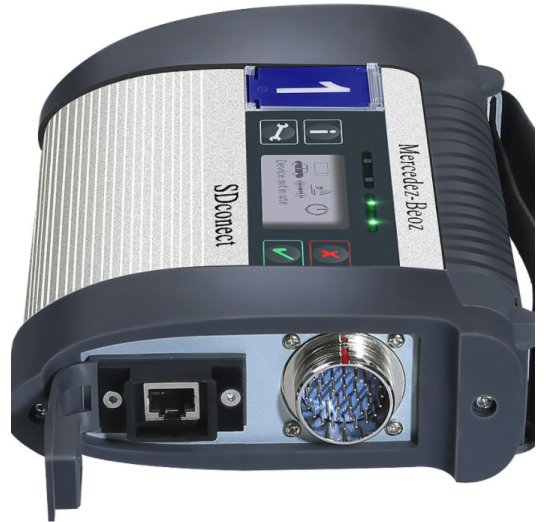
it has a PCB wifi antenna stuck to the side where the PC card slot is, my heart sank as I thought this was gonna be a hack job…. After opening her up there isn’t much to write about on the top.
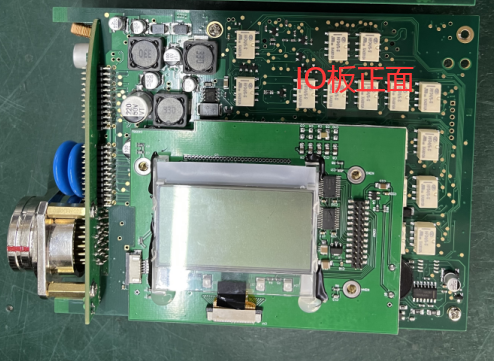
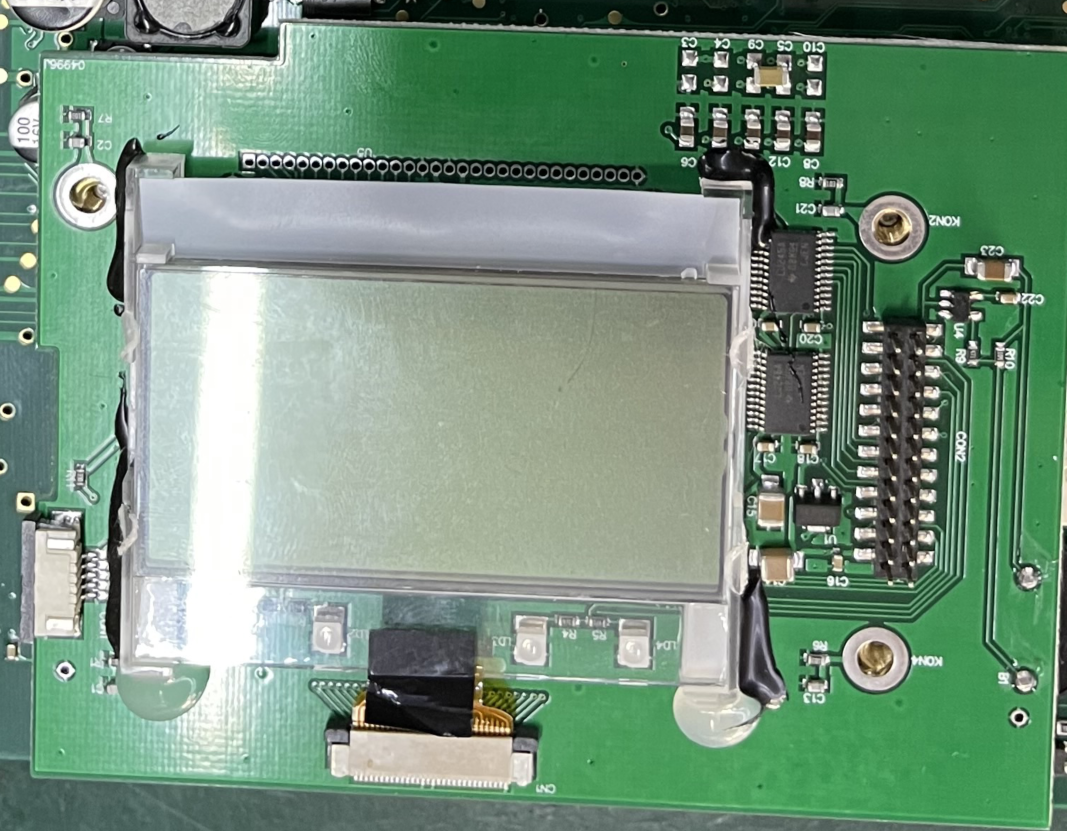
The LCD PCB is pretty standard and is of the 3-screw FT design. Tho it doesn’t matter how you mount the LCD panel on the 2 sets of locating holes on the back, the LCD will never line up with the window on the C4 case.
I think I will replace this with the other 4-hole design, failing that I’ll file out the locating holes and mount the LCD so that it aligns with the window. OCD, sorry about that.
Up next is the back of the unit.
Here we see something new…..
MB SD C4 DoIP WiFi
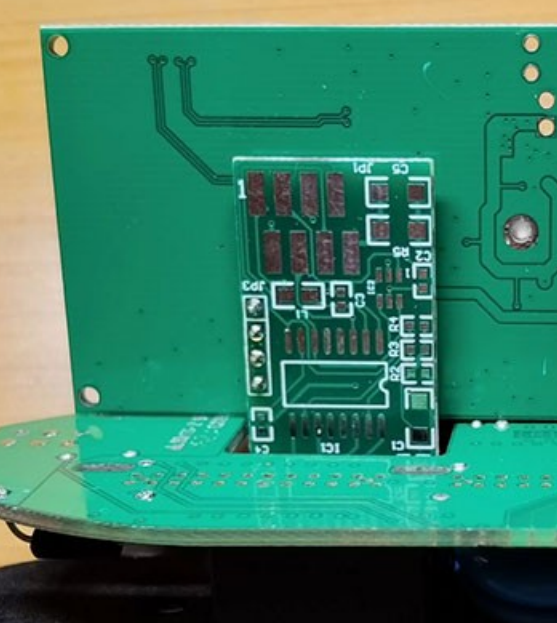
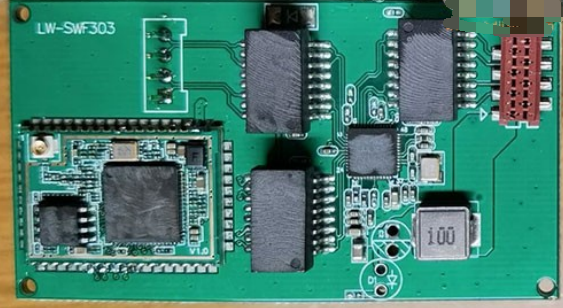
A daughter board mounted on an empty RJ45 board. They grinded off the markings (grinding off markings on the network filter chips? really?)
What’s happening here is the manufacturer commissioned a PCB incorporating a LW-SWF303 3-port miniature 100Mb switch (realtek chip), stuck one port to the C4 PHY (the AM79C874), one port to the RJ45 and the last one into a wifi module. Compared to commissioning an entirely new logic PCB as we have seen in other onboard DoIP revisions this is very economical.
For wifi connectivity this module hosts a SSID of XC4-xxxx and deals out DHCP IP addresses so all you have to do is join it with the pass and your SD connect toolkit will know its there as if it was connected via the ethernet cable. Its that simple. Downside is that the C4 has no way to tell which interface is in fact active so the icon on the LCD will always show it as being on the wired connection. I haven’t tried connecting more than one device to the C4 and see how it handles contention…
Cons:
1, The antenna connector is way too close to the case. Its not a big deal but I’ll probably put some kapton tape there.
2, in placing the antenna where it is they hacked off one of the 2 clips of the plastic battery retainer that locks into the side plate.
MB SD C4 Plus I/O Board
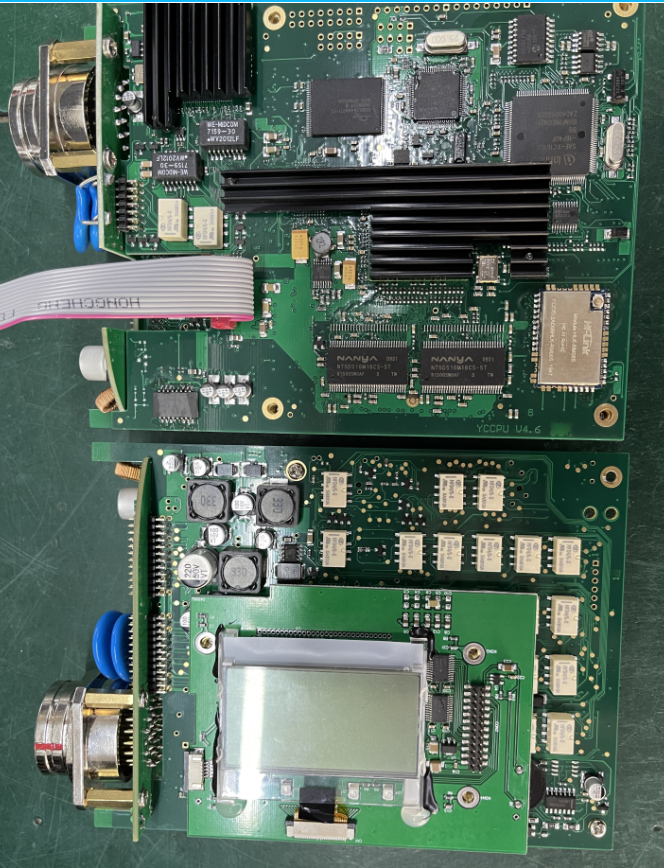
Not too much to see on the relay side. I’m glad its got the chokes instead of the 0R resistors though the relays do look like they are salvaged parts. I will have to hand test each of the relays and probably change the 10uF cans to MLCC and the 220u to something better one of these days. Good to see all the branded LT regulators, which don’t look like fakes, then again they’re not high dollar items.
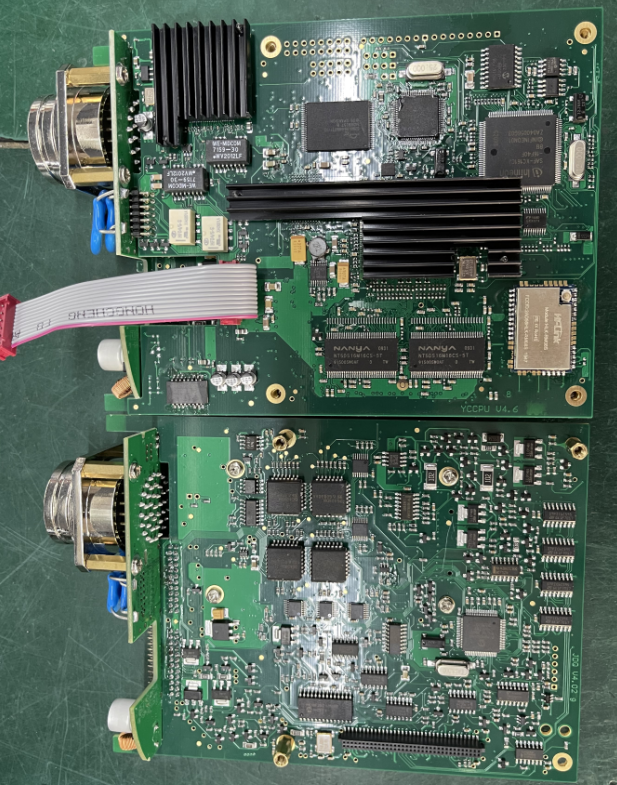
Onto the other side, the battery stuff are all there and all LT, I have had this puppy sitting on the bench charging for a few days now with some 2500mAh eneloop cells. It charges and stops the cycle as it should, it does get warm but everything works. The battery compartment does have the temp sensor. Yup I’ve got the ADG406 rather than the ADG426 mux chips which may or may not matter but I’ll probably change them out. Everything else looks good. Branded parts on everything else that mattered.
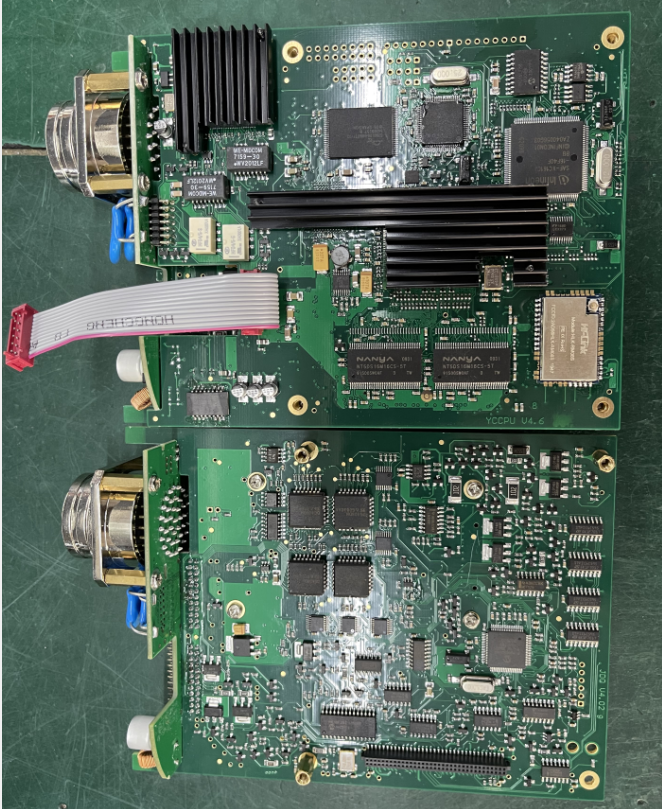
MB SD C4 Plus Logic PCB
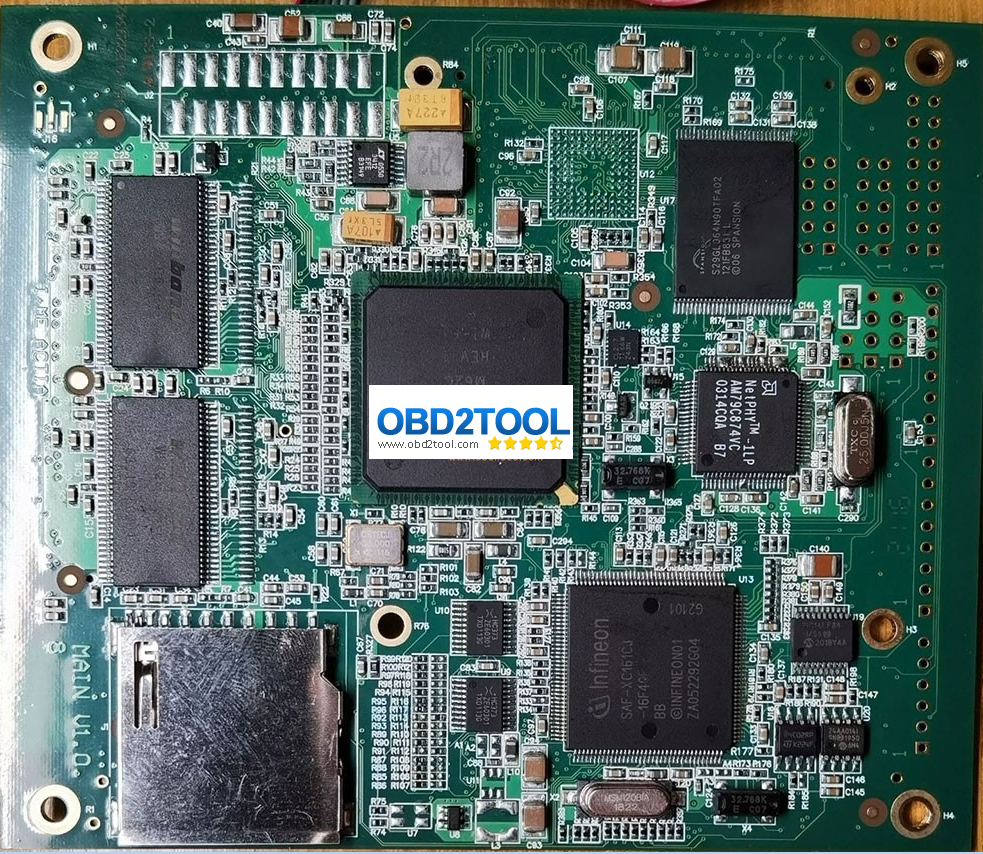
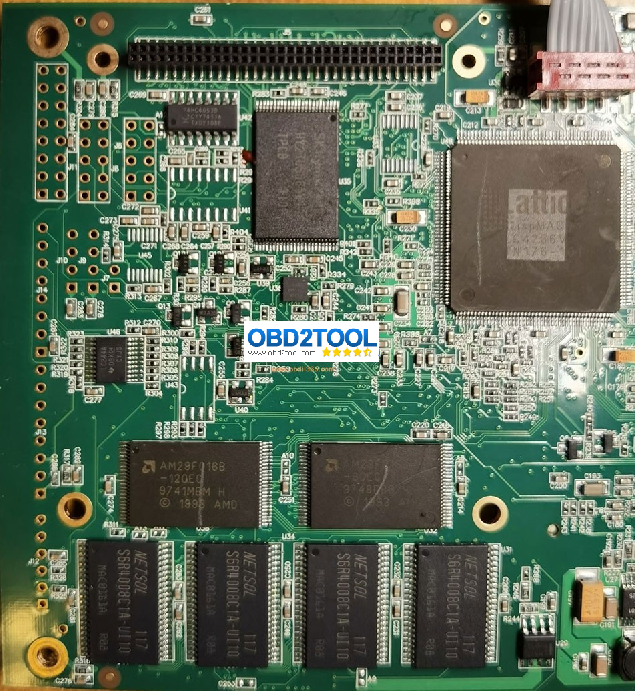
The ethernet phy is the consumer rather than industrial grade but I’m not too fussed about that (more up next). It is using 4 pin xtals. flash for those who care, RAM and flash are all brand name and good looking.
Here are some FLIR pictures on the PCB after a few minutes of running. As you can see the main items of concern would be the MPC, the realtek eth switch chip and the wifi module. I will address these with some heatsink. probably use some thermal gap pad / block to conduct heat from the MPC5200 and the realtek directly to the case. A few of the inductors are also looking a little warm and perhaps they need to be sized up.
I believe, assuming the main heat producers are addressed it really doesn’t matter if the AMD NetPHY chip (AM79C874V) is a C (commercial) or inductrial (I) variant. if its gets to 85c in there you really have other issues to deal with.
To sum up:
All in all I’m satisfied with the purchase.
It worked out of the box, the soldering is not NASA quality but good enough.
Some more care could be used on the hand placed parts which I’ll fix when I get around to reworking it (unnecessary, just OCD). Although all components are there, some could be better but those can be addressed by simple rework.
Given the price I couldn’t really expect more.
MB SD C4 Plus Using Tips:
Be sure to disable/uninstall anti-virus software
There are available
MB SD C4 Plus and MB SD C4 Plus with Lenovo X220 Laptop
For the C4 plus with bundled software, it may pop up it contains virus, actually, it is safe.
Please note, anti-virus software can flag up this product software as having a virus. This is a false positive and is due to the software containing the application file like .exe. So Before setup the device software, please disable/uninstall anti-virus software or install a more reliable virus scanner! MB SD C4 Plus with software is completely safe and virus free and all other virus scanners confirm this.