This guide provides step-by-step instructions on how to remove the oil pressure regulation valve from a CLAAS AXION 950 or 920 tractor.
Related Contents:
CLAAS CDS 7.5 Diagnostic Software
CLAAS WEBTIC OFFLINE ENGLISH 2024.07 contains repair and service information
Removal Procedure
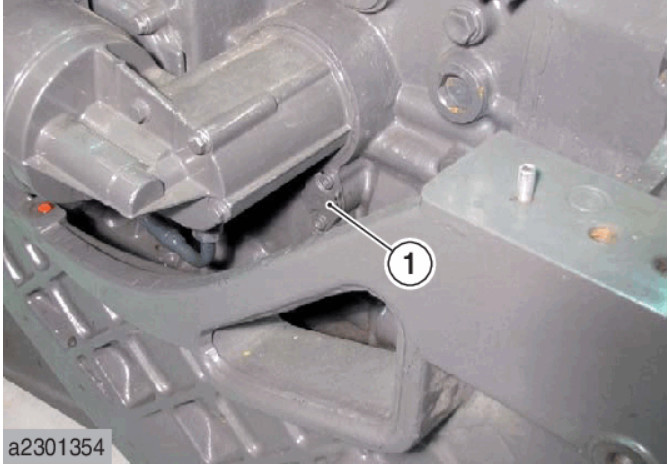
The oil pressure regulation valve can be removed without disassembling the oil filter support. Follow these steps for a proper removal:
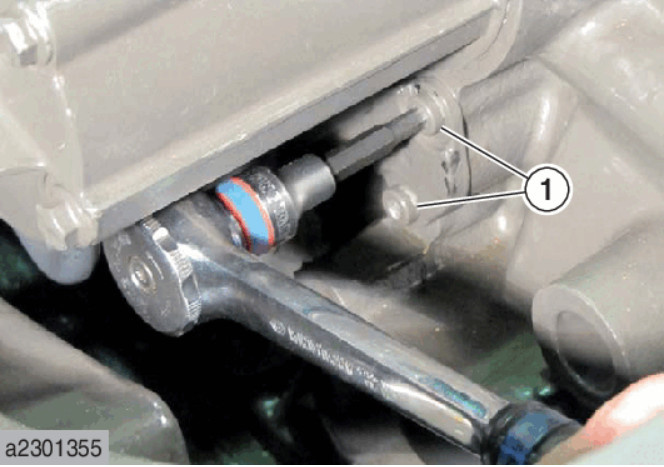
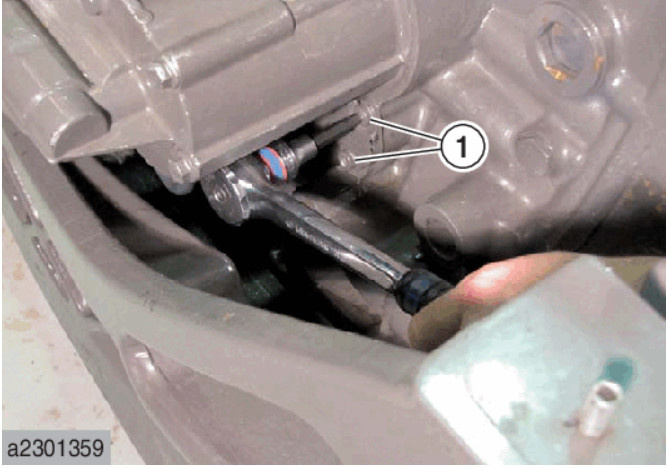
- Remove the Bolts
- Unscrew and remove the two bolts securing the valve.
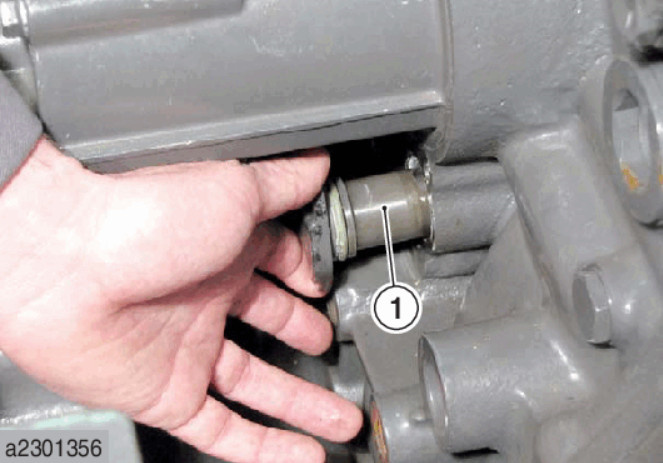
- Extract the Valve
- Manually pull out the oil pressure regulation valve.
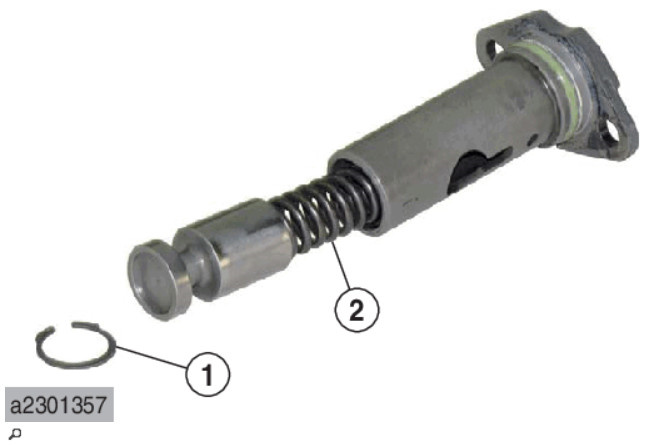
- Remove the Locking Ring
- Detach the locking ring carefully.
- Inspect the Spring
- Check the spring’s length and overall condition to ensure it meets the technical specifications.
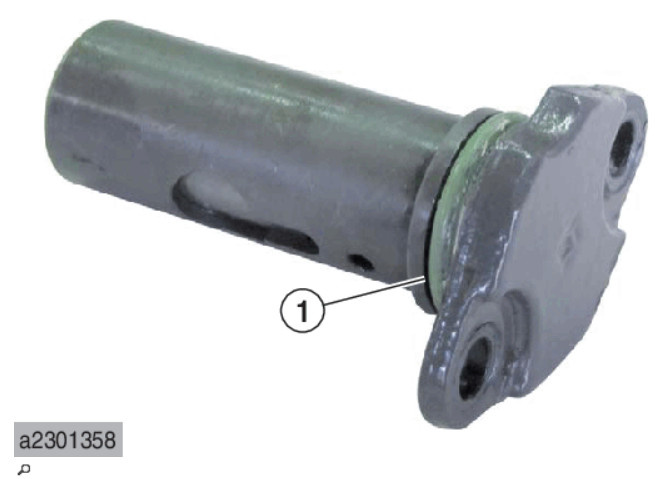
- Replace the O-Ring
- Install a new O-ring for a secure seal.
- Lubricate the O-Ring
- Apply lubrication to the O-ring to prevent leaks and ensure proper installation.
- Reinstall and Secure
- Tighten the bolts securely to complete the process.
By following these steps, you can efficiently remove and inspect the oil pressure regulation valve on your CLAAS AXION 950 or 920 tractor. Always adhere to the manufacturer’s technical specifications for optimal performance and longevity.
