This guide provides step-by-step instructions for performing a Diesel Engine Fluid Pipe Leak Test on a HITACHI ZX-6 Excavator using diagnostic tools.
What You Need?
Hitachi Dr.ZX diagnostic Tool
How to Use the Monitoring Function of Hitachi MPDr Diagnostic Software
Steps to Perform the Diesel Engine Fluid Pipe Leak Test
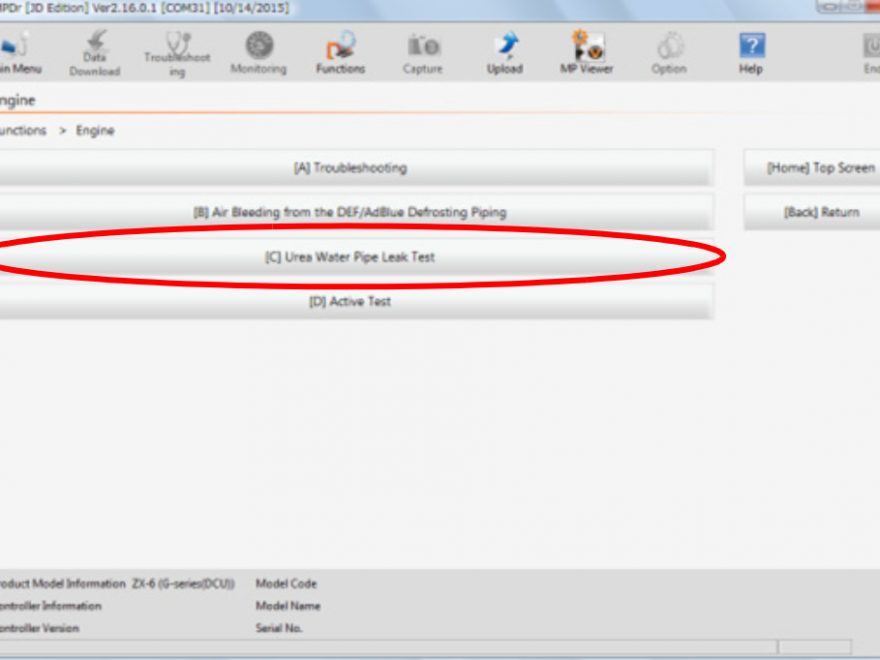
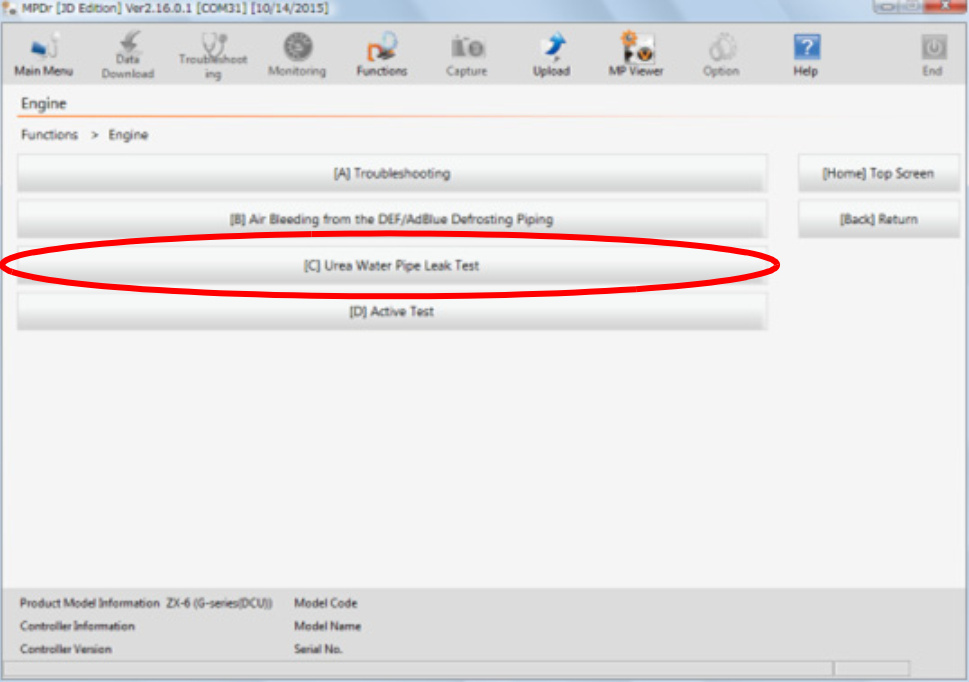
- Select the Diesel Engine Fluid Pipe Test:
- Navigate to the “Diesel Engine Fluid Pipe” option in the diagnostic software.
- Start the Leak Test:
- Click the Start button.
- The test will run as long as “Running” is displayed on the screen.
- Once the leak test is completed, click the Stop button to end the operation.
- To cancel the test mid-operation, click Stop at any time.
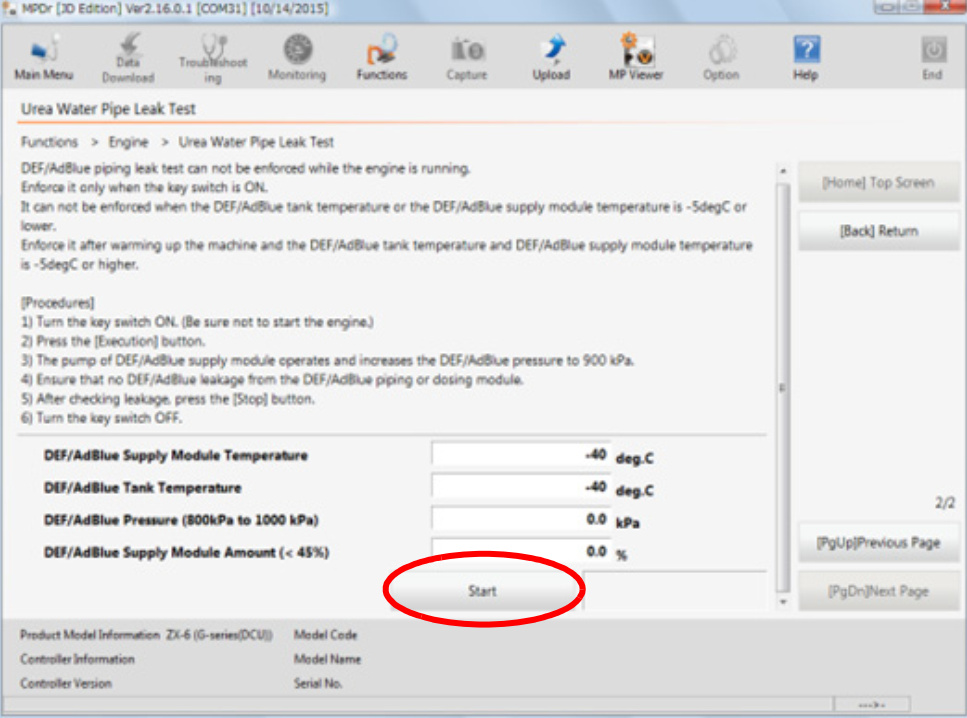
DEF/AdBlue Piping Leak Test Instructions
Important Notes:
- The DEF/AdBlue piping leak test must not be performed while the engine is running.
- Ensure the key switch is turned ON but do not start the engine.
- This test cannot be performed if:
- The temperature of the DEF/AdBlue tank or supply module is below –5°C.
- Allow the machine to warm up so that the DEF/AdBlue tank and supply module reach optimal temperatures.
Procedure:
- Turn the Key Switch ON:
- Ensure the engine remains off.
- Execute the Test:
- Press the Execute button in the diagnostic tool.
- Monitor the Pump Operation:
- The DEF/AdBlue supply module pump will activate.
- Pressure will increase to 900 kPa.
- Inspect for Leaks:
- Check all DEF/AdBlue lines and the dosing module for leaks.
- End the Test:
- Once leak checks are complete, press the Stop button.
- Turn the key switch OFF to finish the procedure.
More repair case for Hitachi,please refer to Hitachi trouble repair
