Here is the article on How to Install/Setup Volvo VOCOM II 88890400 on a Laptop, written as an expert:
Installing and Setting Up Volvo VOCOM II 88890400 on Your Laptop
Related Contents:
2024 Volvo TechTool PTT 2.8.241 APCI 0.7.1.0/2.7.116 All Version Free Download
Volvo PROSIS 2023 2019 2018 Parts Catalog & Repair Manuals Free Download
Volvo VOCOM 88890300 Diagnostic Kit
To use the Volvo VOCOM II diagnostic tool with Volvo Tech Tool software, it’s essential to properly install and set up the device on your laptop. This article will guide you through the process step by step.
Installing VOCOM II
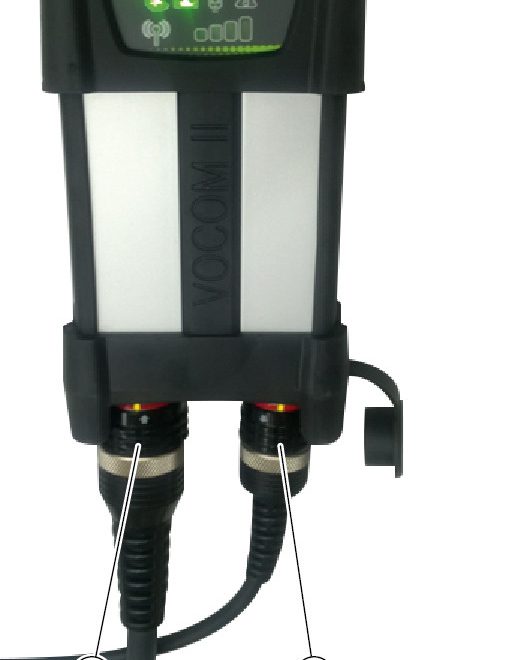
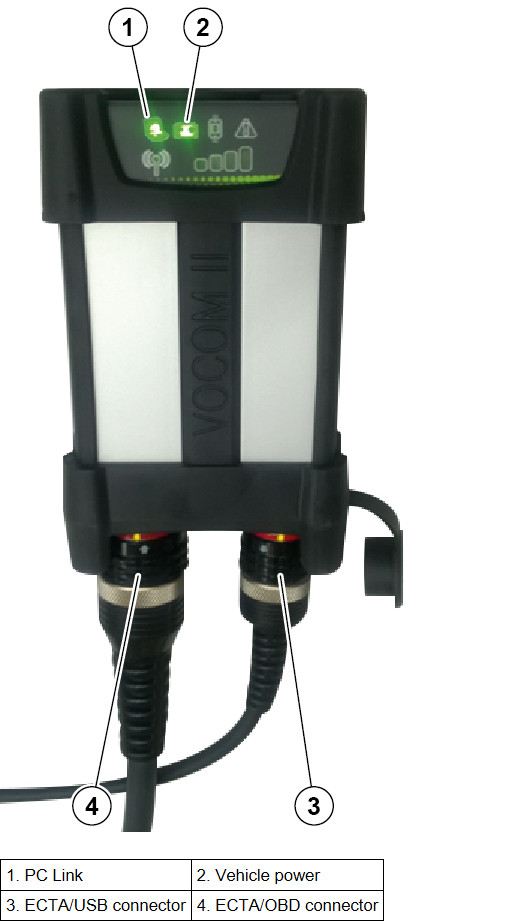
Connect the VOCOM II device to the USB port of the PC. The device is ready to communicate when the PC Link LED shines green.
When connecting a new VOCOM II device for the first time the Windows device driver setup will run:

Note: When connecting a VOCOM II device for the first time, the device installation could take several minutes due to the Windows specific “driver installation” feature.
During the device driver installation you will see a corresponding task bar notification. If the device driver installation has been successfully completed, a task bar notification will be shown:
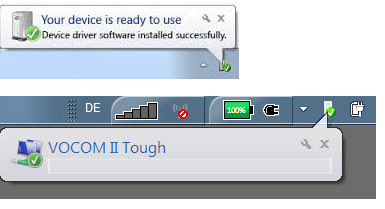
If for some reason the device driver fails to install, try again by disconnecting VOCOM II from the USB port and connecting it to a different USB port or by restarting the computer.
Troubleshooting
If the device is connected via USB but does not show up in the device list, use the Connectivity Check under the options menu to check that all needed firewall ports are opened.
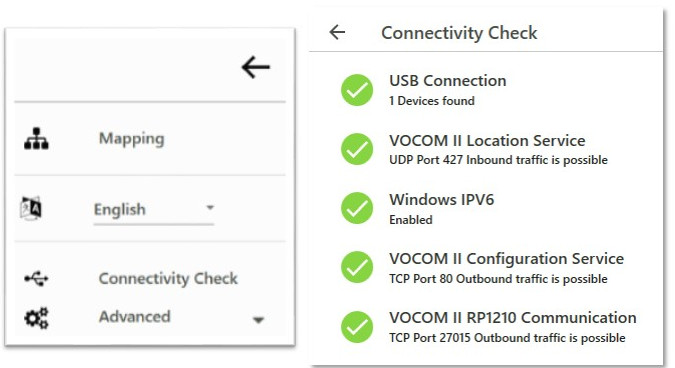
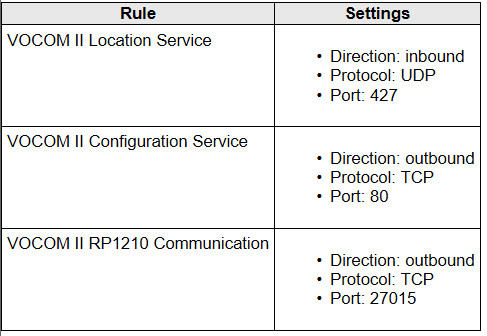
Note: For proper operation of the VOCOM II hardware the following firewall rules have to be set up. For the standard Windows firewall the VOCOM II Windows installer will add these rules automatically during the installation process.
